
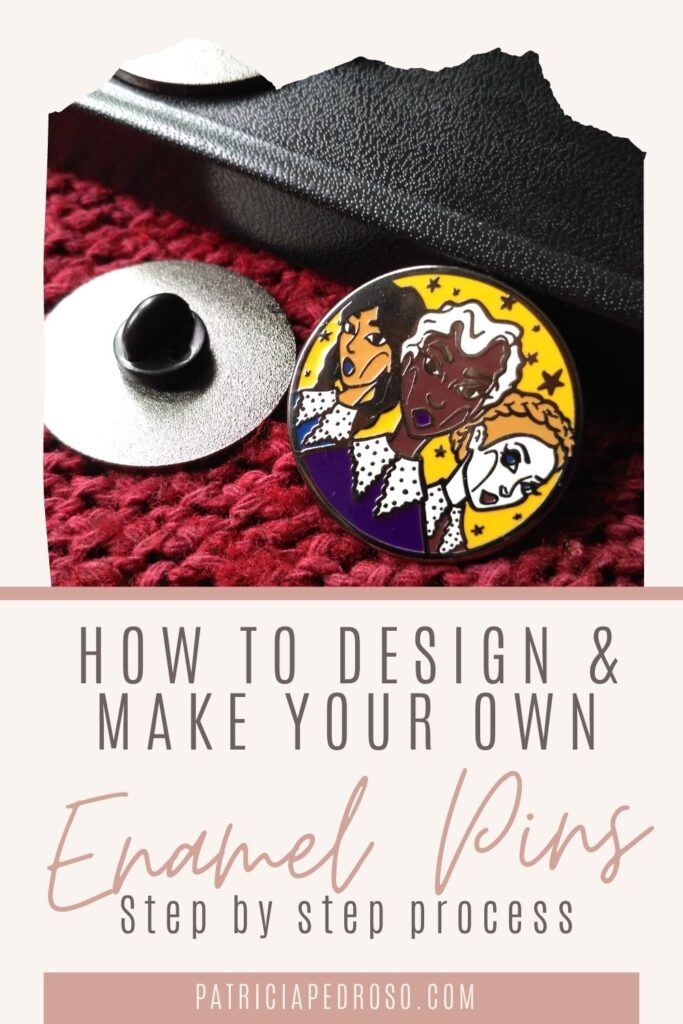
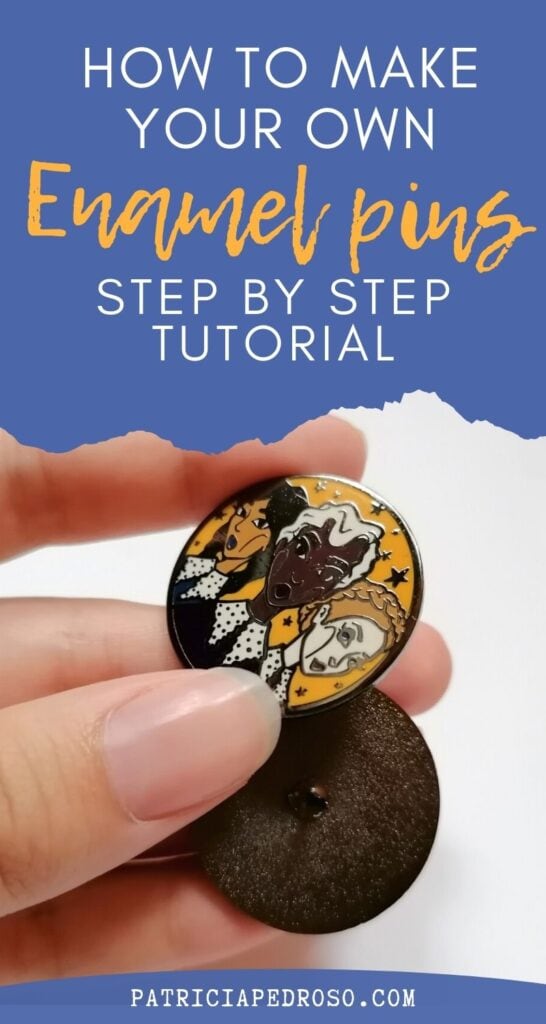
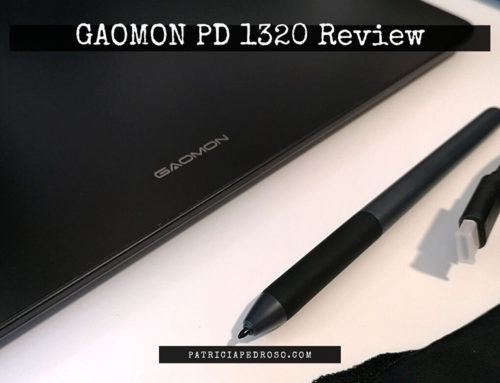
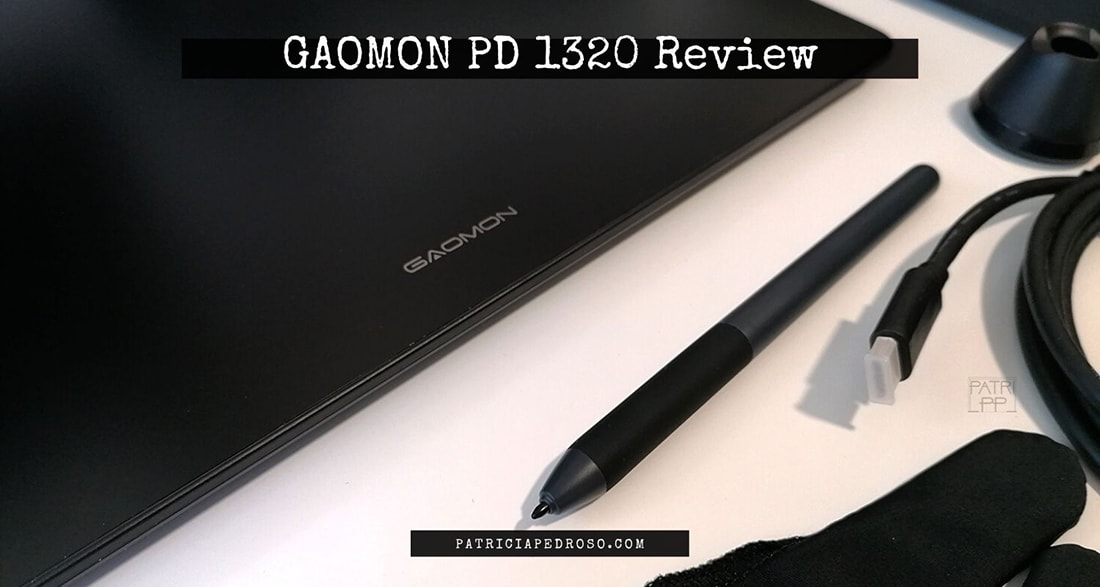
All you need to know to start making pins, step by step
Enamel pins are a big trend lately amongst artists, though not exclusively to them!
The trend is expanding and with the facilities some manufacturers give you, anyone can design their own pin if they want!
As for me, last Summer, I got contacted via Etsy by a Spanish manufacturer that offered me to turn my drawings into pins.
And having seen the beautiful pins the artists I follow were creating, I couldn’t help but be curious!
I didn’t say yes right away, cause it was a big investment for my small budget and I had to do some research beforehand.
I’m guessing if you’re reding this, you’re interested too…
So let me tell you what I learned and all the steps you can follow to make designing and making your own enamel pin it as seamless as possible!
In this post, I’ll also give you some price examples of certain things – take into account it’s approximated and can vary – cause I know its a common thing to want to know when making enamel pins online.
WHAT ARE ENAMEL PINS?
Before we start I want to go a bit into what an enamel pin is.
Enamel pins are small pins that are meant to be worn at the lapel of a jacket, backpacks, purses or other articles of clothing.
Now, recently people have also started to collect them just for decorating/displaying purposes, cause with artist designing so many sometimes they’re more of a piece of art.
Even if you can easily design the pins, producing them at home is not usually a good idea, as it requires a lot of specialized equipment.
However, nowadays there’s plenty of manufacturers that can take care of that for you and turn your design into a little metal masterpiece!
*Note: There are different kinds of pins, I’m not including the “button pins” that you can actually make yourself at home, as these don’t seem too professional to me for something an artist will sell.*
Here’s a lovely video I found of the backstage process of making an enamel pin in the manufacturers, just so you know a bit of what happens after you design it.
Before I start, I want to add that enamel pins have been quite a good investment amongst artists lately, and it’s a trend that doesn’t seem to be dying down just yet.
1 – COMING UP WITH A DESIGN
In this case, this first step is indeed one of the most important.
Coming up with the right idea might make or break the success of the pin.
You need to pick what you’ll be designing carefully and consider two main things:
- It needs to look good on a pin.
- Needs to be attractive to buyers.
If you have a considerable following or client base, consider looking for your most popular pieces online and see if it’s possible to turn them into a pin design.
Better yet if it’s your main bestseller.
If not, consider trends or popular themes. And you can always get inspired by characters from movies or books, quotes, tv shows, whatever you fancy.
In these cases though, you might want to consider the copyright of whatever you might be designing. I don’t want to go much into this, but here’s an article that might help clear some stuff.
Bonus tip: carry your sketchbook everywhere and sketch any ideas you might have there!
In my case, I thought long about it to try and find a good idea, and I kind of fit both of these tips into one!
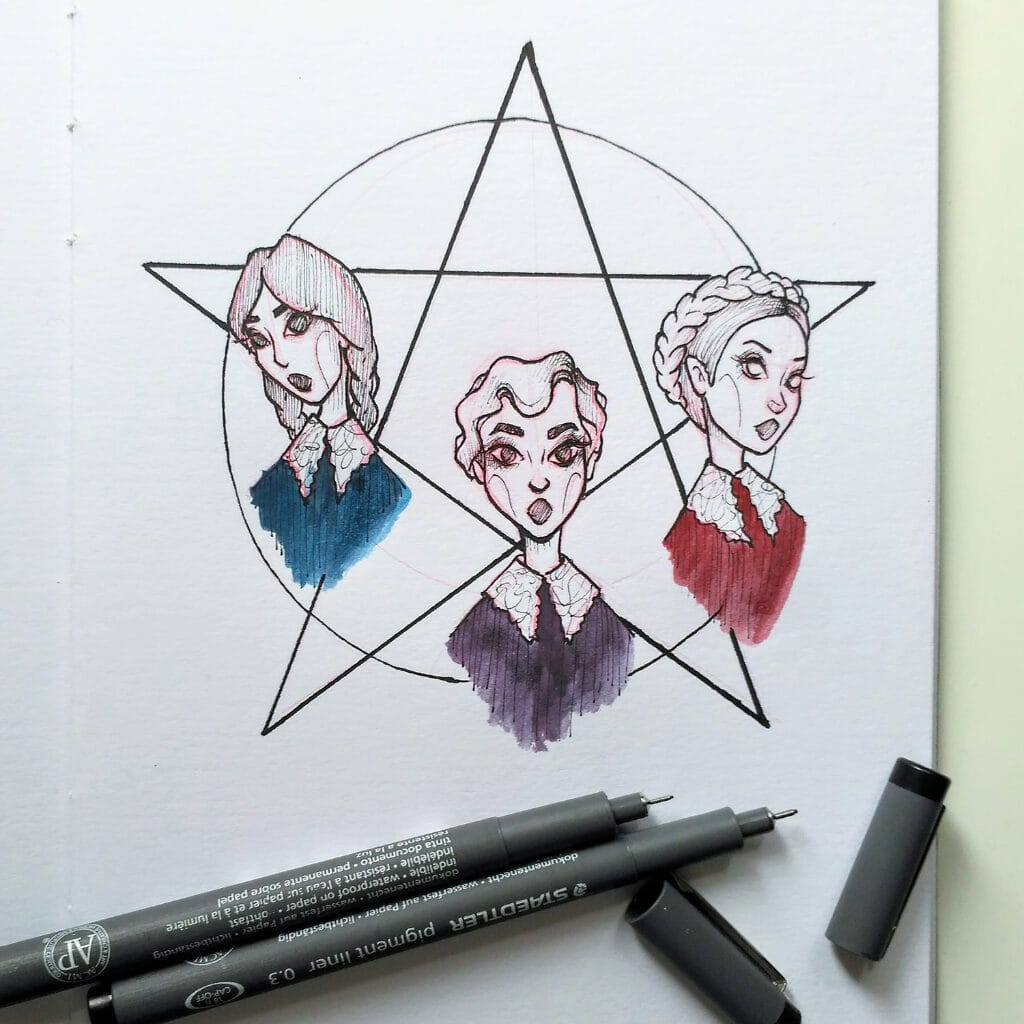
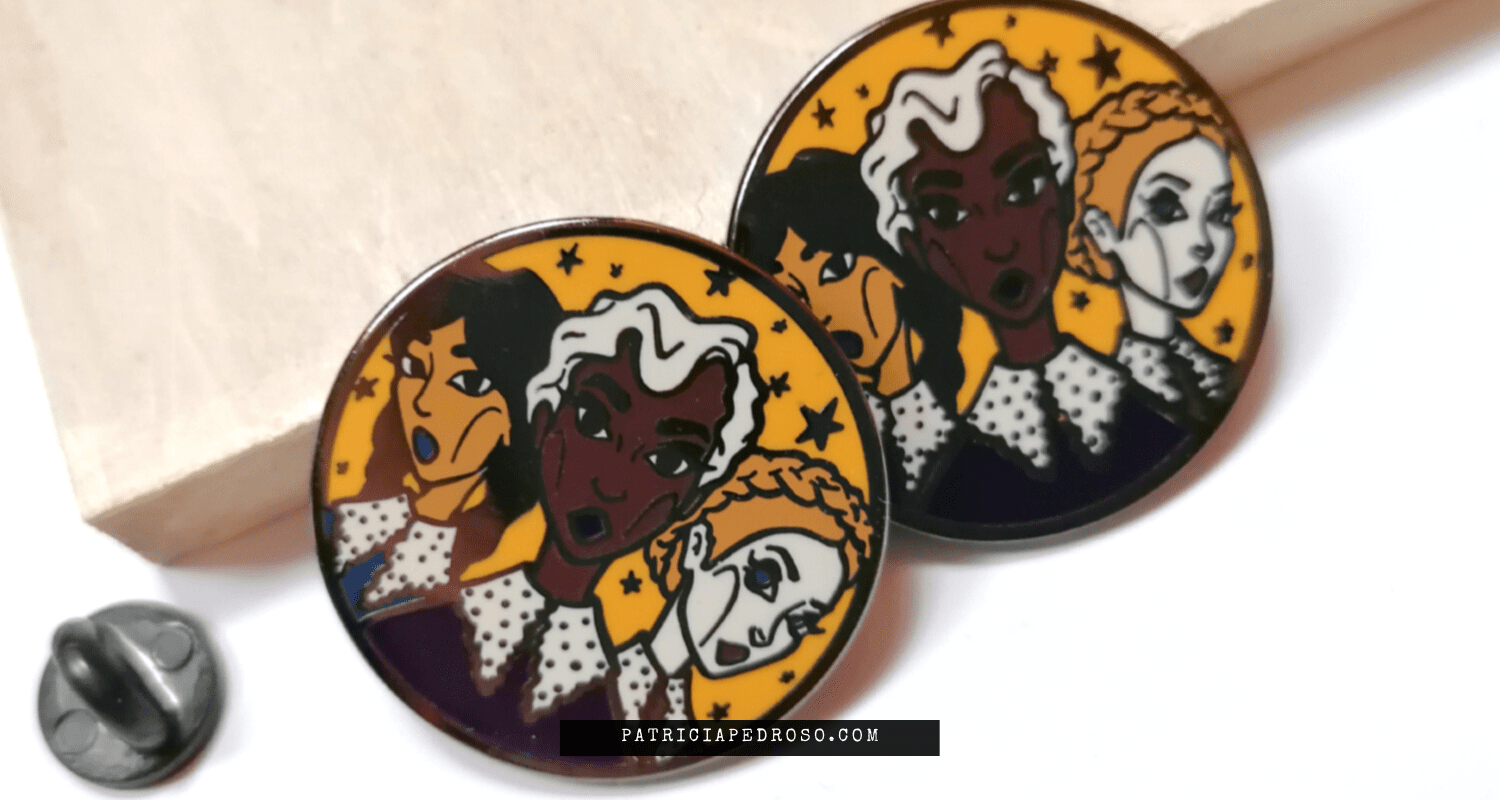
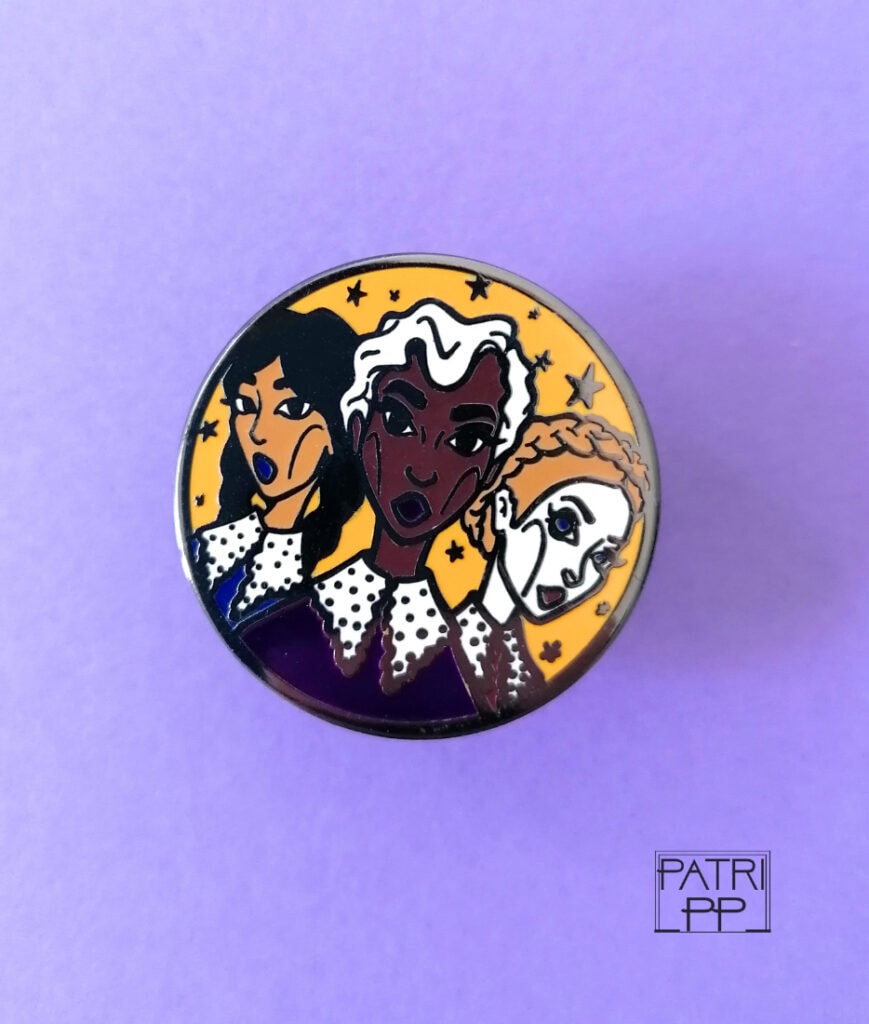
I went for a drawing that I did that was highly popular on my Instagram and at the same time was inspired by a series that is being very popular lately; The Chilling Adventures of Sabrina.
But of course, this could not be my final design for the pin, I still had a long process ahead of me!
You see, you need to consider that a pin is not a common drawing.
So, let me give you a few tips so your design adapts as best as possible to an enamel pin.
2 – TIPS THAT I LEARNED IN THIS PROCESS
One of the first things you need to do when thinking about the design is to simplify all that you can.
This can be hard for illustrators – believe me, I know – but in the end, the simpler it is the better it translates to an enamel pin!
Think of the size.
You’re probably drawing it big in photoshop or your sketchbook, but in reality, your pin will be small. Usually measures somewhere around 3cm or 1,2inch – it can be more, but just as a base.
A tip I used was to print my initial design out in the size my pin was going to be.
This was really helpful, as you actually can compare it and realise if you can see the details properly or not.
In my case, this actually saved me from making bad pins that no one was going to be able to see the details in. So I had to make a few corrections and adapt my design again.
Which brings me to: Deatach yourself from the design a bit.
I’m not saying you shouldn’t love it, but be impartial.
Maybe take a break and come back to it a few days later, see if you still like it or if you see things that need to be changed.
You can’t be too attached, cause the manufacturer might request some changes or do them themselves in order to be able to make a beautiful pin.
Just consider that enamel pins have its limitations – some also given by your budget – it’s a different thing completely than drawing/illustrating.
3 – TRANSFER YOUR DESIGN TO A DIGITAL PROGRAM
You’ll need to clean up your sketch in a digital program of your choice and turn it into a vector file.
This is what you’ll give to the manufacturer.
Now, some of them will be able to translate your sketch into a vector design for you and if you approve it they will continue with the process.
However, I would advise against it, unless you have no possible way to do it yourself.
There’s nothing wrong with it, you just have more control over the final design of your enamel pins.
I’m gonna consider you go for doing it yourself for the next few steps, so if you’re not, jump ahead a few points!
What do you need for digitalising your sketch?
- Take a picture or scan it. – skip if you did it digitally from the start.
- You’ll need a graphic program, it can be photoshop or illustrator, or if you don’t have access to those there are other free programs out there that will work, but you’ll need a program that allows layers.
- Clean up your file. You’ll need to put the linework and each different colour in separated layers.
- Colours need to be flat to work, vectorise your file if you can. – it only takes a few easy steps, just google your drawing program + vector file step by step and you’ll surely find something.
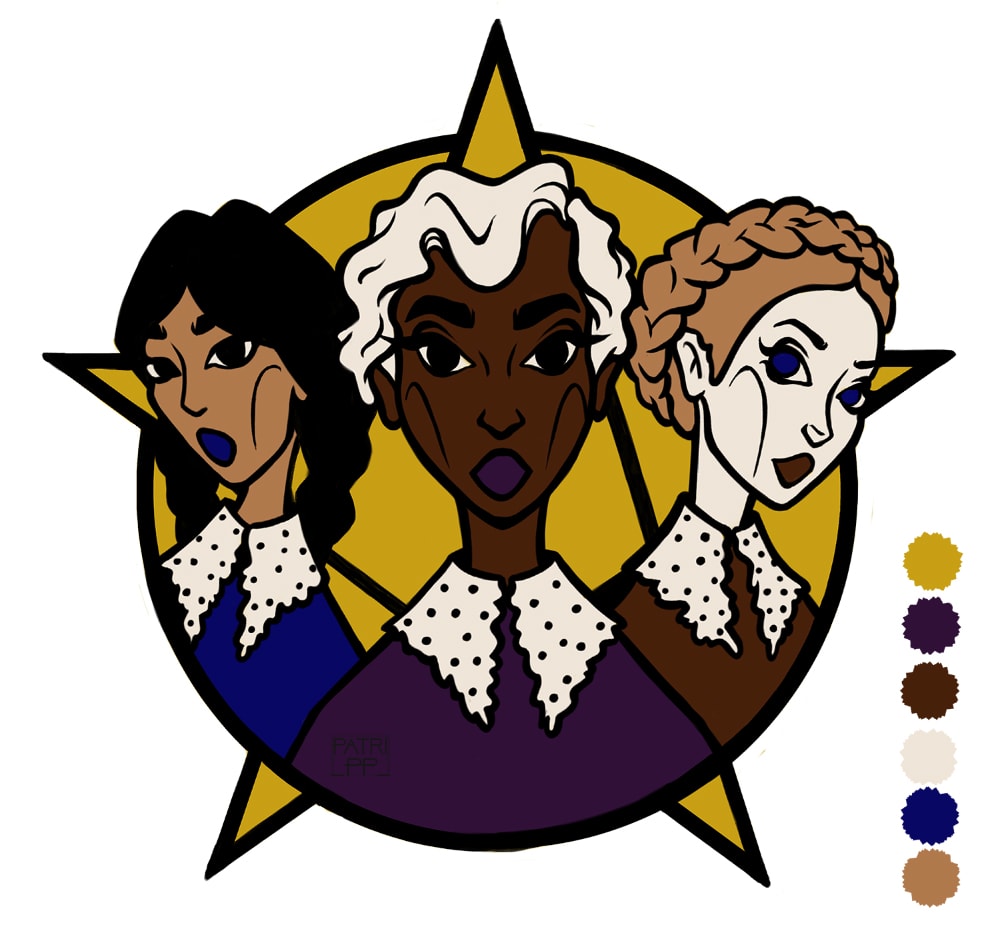
That’s it! You should have something like this by the end of that process:

In this, I had already picked the colours – that I’m going to talk about below.
But first I want to give you some extra tips to consider when cleaning up and designing your enamel pins to help you avoid mistakes.
And lots of extra work!
4 – SOME TIPS FOR A BETTER DESIGN
When sketching, keep in mind that your linework will translate into raised metal.
And that metal will have a colour – silver/golden – that you’ll need to consider and add to your pin’s colour palette.
Some people even colour the linework to simulate it and see it better. I will advise doing this to make sure it fits with what you had in mind.

Avoid too many details, shapes & gaps that are too small – the machine won’t be able to colour it – and shapes that are too complex that the machines won’t be able to do easily.
And it might mean that you’ll get charged extra or isn’t possible at all.
This is where it comes to be a bit detached from your drawing, know when a detail is necessary/enhances your pin or not.
Draw your design with clean connecting lines so the colours don’t bleed out.
Make sure the lines are thick enough to be seen.
The trick of printing it helps here too. Although, in my case, my manufacturer told me where I should close my lines and make them thicker too.
Lastly, weight.
Usually, the manufacturer will let you know about this too, but if your pin is very long or big you’ll need 2 or more pins in the back.
This helps support it and increases the comfort of the person wearing it.
5 – CHOOSE YOUR COLOURS
Alright, there’s a couple of main things you need to consider about this:
One is that you need to keep a limited number of colours.
This might depend on your manufacturer, in my case, it was 6 till they started charging extra for each colour.
Even if this isn’t your case, this isn’t a bad rule of thumb either. 5-6 colours are usually enough for a pin so it doesn’t look too over the top.
Be clever about it: maybe two similar colours can be switched into one or others can be reused in other zones.
The second is that you’ll need to have your swatches of every colour with its Pantone number.
Finding the Pantone number of your colour it’s quite easy.
For example, in photoshop you only have to select the colour, click on it and then find a button that says “Colour library” that will lead you to something like this:
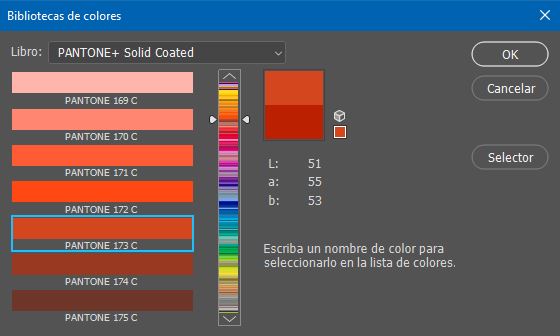
This gives you the closest colour the computer could find, but you can also search there yourself for a closer/better match.
If this doesn’t work, you can always search for them on the official Pantone page here.
Remember, flat colours only.
Extra tip; check on different screens as in some the colours can be distorted – if you can find a physical Pantone guide it’s even better.
6 – TYPES OF PINS
There are two main types of pins that you can manufacture and you’ll need to decide between them depending on your preferences.
HARD ENAMEL PINS
These pins are more durable, cause they are metal, and have a polished smooth surface.
They take longer to be produced and the result is high-quality, so of course, these enamel pins are more costly.
However, they also sell at higher prices and they definitely look like more professional reproduction of your work.
Between 8-20$ depending on size, quality and stuff. Extra big pins will get out of this range.
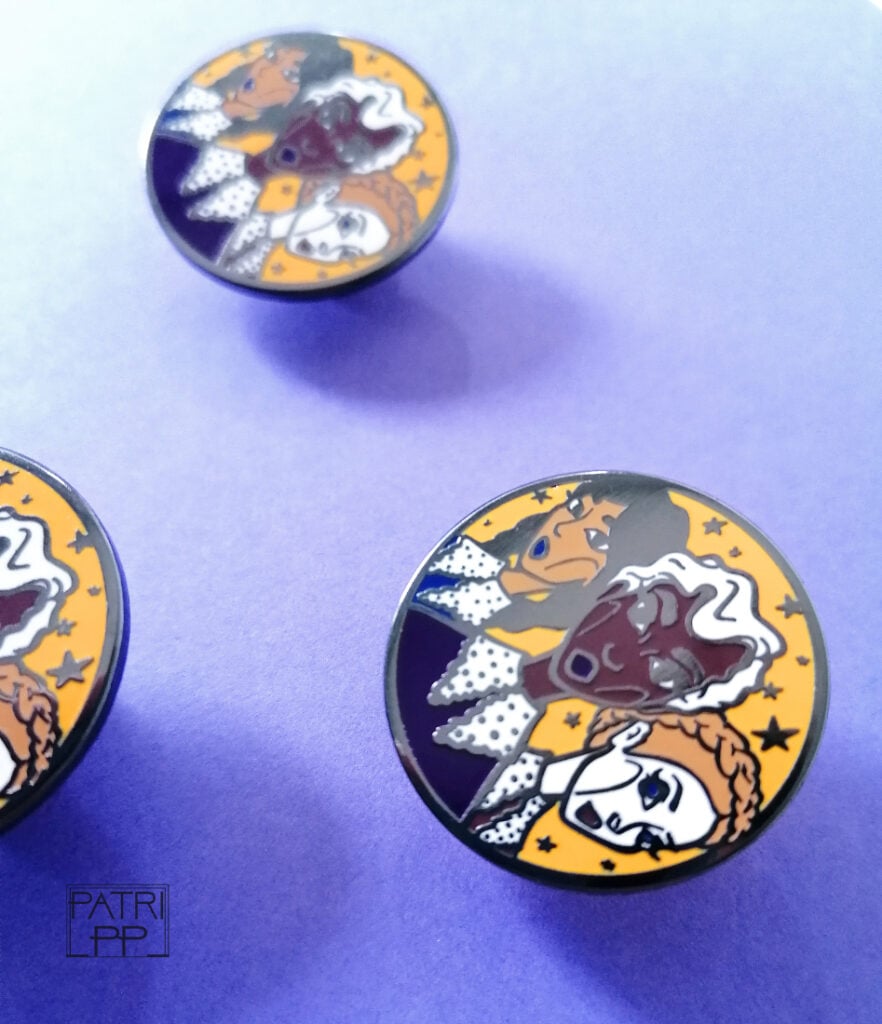
These are the ones I made. And also the ones most artists choose to do.
Most of this post refers to this kind of enamel pin, but some of the advice works well with the process of designing soft enamel too.
SOFT ENAMEL PINS
Generally, the colours are brighter and more vibrant on soft enamel pins. In them, the surface is textured and it’s said that they’re easier to make for beginners.
However, soft enamel pins are less durable and their surface can be easily scratched.
These pins can also have effects like shinning in the dark, be sparkly and such that the others can’t. – I believe so.
But if you’re interested in knowing more about the differences between the two, here’s a good, detailed article.
7 – FIND AND CHOOSE A MANUFACTURER
After you have your pin design, it’s time you choose your manufacturer.
A quick search online will give you a ton of options and budgets.
Now, when it comes to picking, I will suggest you look at the reviews closely and check in the prices twice. Compare & do your math.
There are usually two main choices; go local or to Asian mass companies.
These last ones are usually cheaper, but you have to consider shipping, pins are heavy and that might up the price. – some people complain about quality too, but that depends on the manufacturer.
In my case, I decided to go local, the price was good and they delivered the pins free of charge.
If you’re in Spain (I’m not sure if they work outside) I would totally recommend them: Hepaestudio.
When going local, sometimes they can even provide an “example” of their previous work so you can check their quality.
- An approximate guide for prices (hard enamel pins):
Usually, the price for a batch of pins consists of two main parts.
The first is the mold; they have to make one that will serve to manufacture a big amount of pins but it’s quite costly, so usually, companies will charge about 50-65$ just for the mold.
From then, usually, the prices of the pins get cheaper the more you make.
But you can consider a normal price anything between 0.5-3$ per pin. – a bigger size can make it pricier.
Re-orders of the same pin will also be cheaper in the same manufacturer, as they don’t have to make the mold again. (But they probably won’t keep the mold forever)
And again, make sure you add shipping.
8 – TIPS FOR DEALING WITH THE MANUFACTURER FOR BETTER RESULTS:
If you want to get an accurate budget when you get in touch with them you should let them know:
The size of the pin, number of colours, if you want hard or soft enamel and an approximate of how many enamel pins you want.
This can all be just an estimate, they will always let you know some more details if you need to.
A very important point is communication with the manufacturer.
Make sure you let them know every question or doubt you might have; it’s better to ask too much than to have doubts or an unwanted result later.
Some examples of things you might want to know about:
- Duration of the process. (usually about a month once you send & confirm the final design)
- Shipping: types/pricing.
- About the back of the pins; materials, finish and types of pins.

- Ask for photos of their work and depending on the manufacturer even a sample.
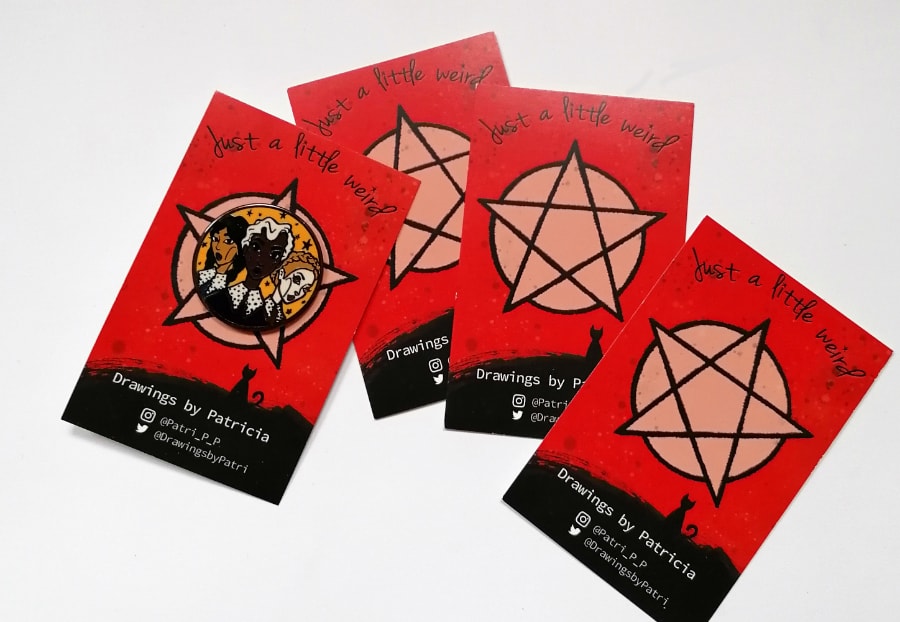
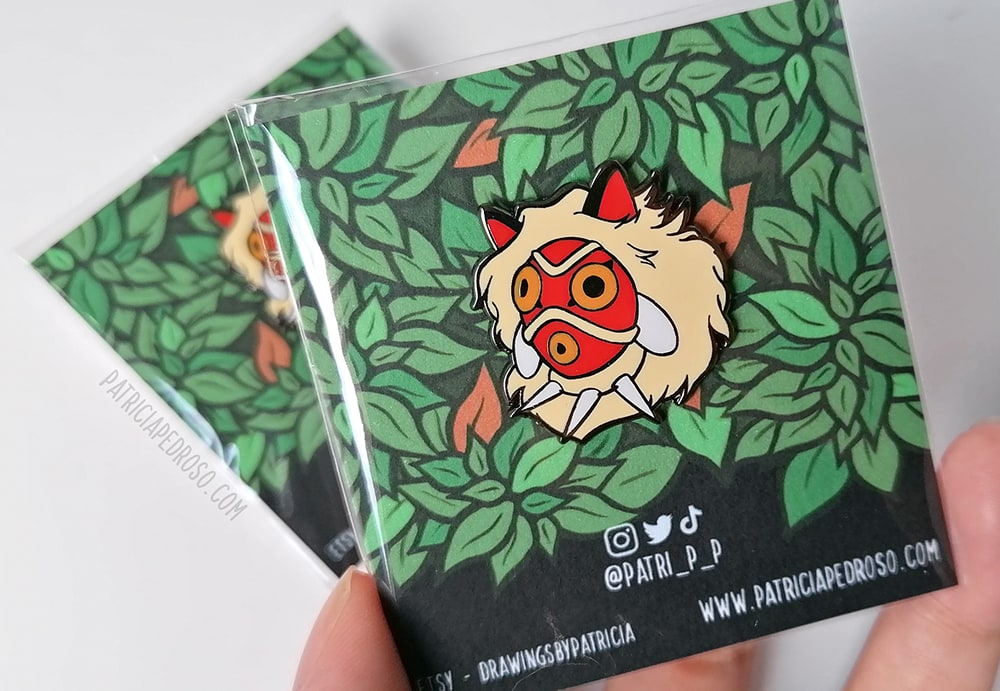
- Ask if they provide any sort of packaging. In my case, they offered an individual clear bag + printing the backing cards if I paid a bit extra.
9 – PACKAGING & BACK CARDS
Consider making a back card to display your pins in.
In my case, I paid an extra fee and I got both the cards and packaging that you will see in the photo examples.
A back card gives your product that professional look and are a bit like a business card with some of your info on them!
Also, done right they can do a lot to improve the look of your brand & the pin itself.
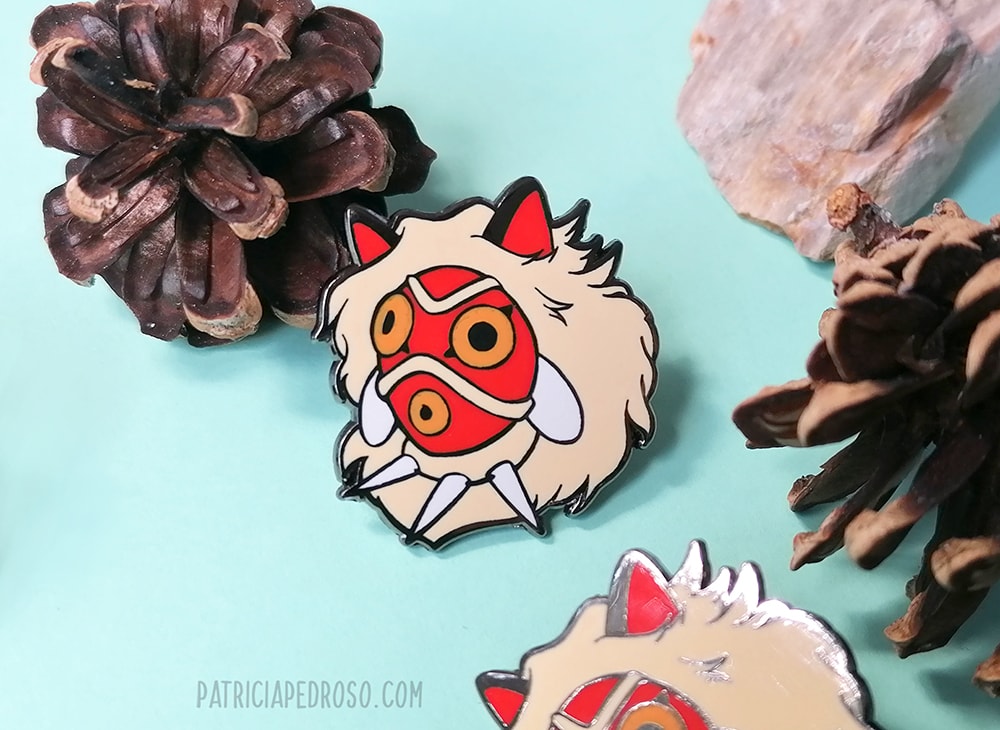
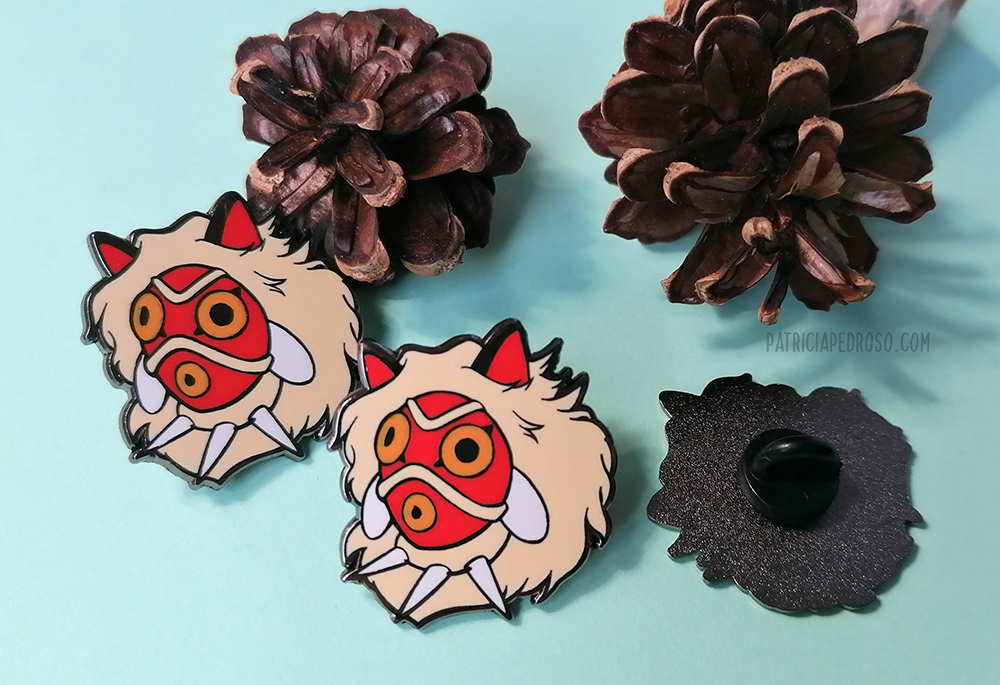
You can even print them yourself! (These for the Mononoke pin I printed myself and they look awesome!)
Consider what you plan to do with them, maybe if it is for a certain specific occasion and you’ll give them personally you might not need any of this.
But if it’s for selling this will also increase their value.
10 – BUDGET
Having a clear budget will help you in the long run.
Consider how much you want/can spend and see what you can do with that.
Not only consider the enamel pins price: add the shipping from the manufacturer to you, the price of any decorative packaging, back cards and any others you might have.
Then, what I did is make an estimate of how much each pin cost with all of this included.
I also added the bubble envelopes for safe packaging to the buyers. And an approximate shipping cost to clients if it applies.
With this, I was able to then calculate a price that will leave me some breathing room to cover the investment and make a bit of profit.
When pricing, also consider the prices on the market for enamel pins of the same quality & size.
That I might invest in making another design now that the process will be more seamless…
AND YOU’RE DONE!
Now to wait…
And you have made your very own enamel pin!
If you want to get mine you’ll definitely make my day!
You can get them on my Etsy shop here – With free shipping!
Or… Now you can also get them in the web’s shop! Here or by clicking on the images! (Soon also with special bundles)
They were made with a lot of love. ❤
I hope this post will help make the process easier for a lot of you!
There’s a lot of these tricks that will have definitely made my process faster. But the next time will be better!
If you do them, please share the links below, I would love to see them!
And if you liked this post, maybe you’ll want to check these out:
