
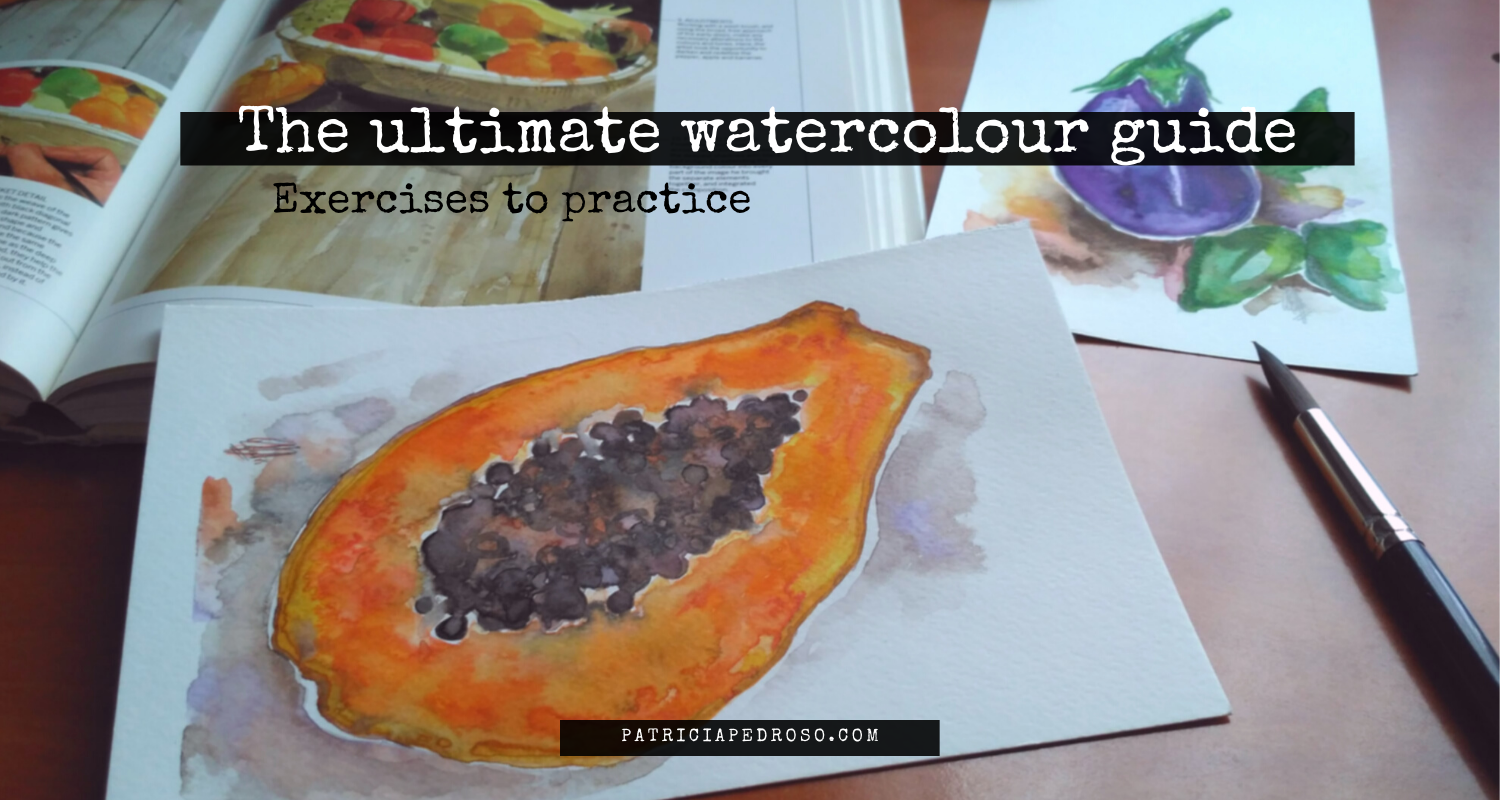
Get better at watercolours with these exercises and tips. Beginner or not, these will benefit you either way!
As we’re coming to the end of this watercolour series I thought it will be important to touch on what exercises you could do to practice watercolours.
It’s funny, cause I’ve never seen any post about watercolours give advice on this.
And I don’t know about you, but this was my main question when I started!
However, courses and drawing books usually do give you exercises to practice watercolours – not all good though.
And while I didn’t start by doing any of these – I didn’t know better – I could see how I would benefit from them, even now.
Cause that’s the thing with art, you should never stop practicing.
So, I’ve gathered a few exercises & practices I’ve seen in courses, drawing books – and some I kinda-made-up with what I know – that I’m sure will help you get started with watercolours.
Let’s dive in!
This post belongs to a bigger watercolour guide series, if you want to read more I will link the full series here:
- The ultimate guide to watercolour: Introduction
- The ultimate guide to watercolour: Paints
- Watercolour Guide: Brushes & paper
- Watercolour Techniques: All you need to know
- The watercolour Guide: Extra tools to ease your process
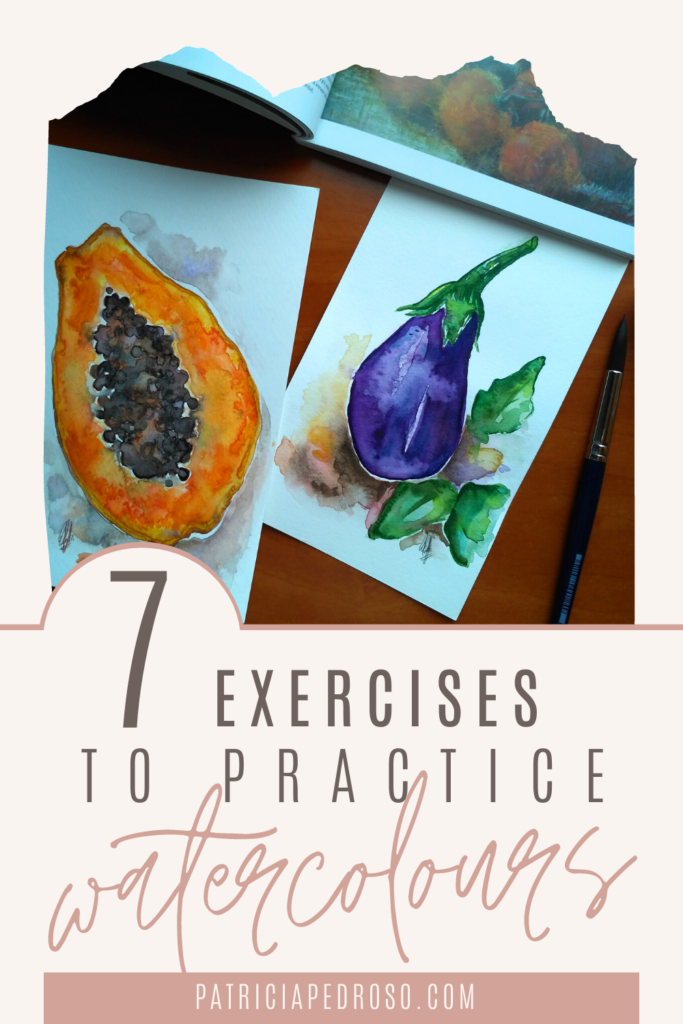
- 7 Exercises to practice watercolours (this one)
*Reminder that this post contains some affiliate links. This means I might get a small commission when you click and buy something with that link with no additional cost to you. However, my reviews and recommended products are not influenced by this, I’ll only recommend what I use and what I believe is good. Click here to read the disclaimer if you want more information*
WHAT TOOLS DO I NEED?
You really don’t need anything fancy, you could do this with a little W&N travel set and a watercolour sketchbook or paper you have laying around.
A round brush that’s slightly big – I would say 12 or more but that depends on where you are and the brand – would work for most of the exercises.
Though if there’s any specific recommendation in any of them, I’ll mention them.
If you came across this post without reading the whole series and are still unsure about what paper, paints or brushes you should pick, I tell you all about them on their dedicated posts. I’ll link them here so you can go and check them out:
But remember to come back and keep reading!
I’m saying this because some people will advise against practising watercolours with “cheap supplies”.
And it’s true that good watercolours & good paper behave slightly different than cheap ones, making your experience a bit more complicated than what it might have to be.
Whoever, I believe in trying some supplies that are more affordable for practice if you’re starting out, especially if you don’t have the budget.
And I think the same to practice watercolours. Well, except for paper.
Do not buy just cheap paper. It has to be watercolour paper at least with 300gsm – between 140lb and 300lb – if you want to be comfortable making washes & working wet on wet.
What this means is that it can be “cheap watercolour paper” too for practice.
My recommendation of one that works well enough for its price is the Canson XL watercolour pad.

EXERCISES TO PRACTICE WATERCOLOURS
Let’s dive in!
But first, if you’re not familiar with watercolour techniques, I will recommend you jump to my post about techniques here.
I’ll be mentioning them assuming you know what they are, so if you need to freshen up this is your moment.
These are somehow in the order of how I would have started – if I could go back and tell that to my 18yo self – and that seems more logical, cause their difficulty increases.
1. PRACTICE GRADATIONS
Before we even start talking about the exercises, let’s quickly review what a gradation or graded wash is.
These kinds of washes show a transition either from light to dark or vice versa.
Practice gradations will help you learn to control the paint. I recommend you pick just one colour and start by practicing light to dark gradations & dark to light.
And before I move on to what other gradations you can practice, I want to give you a few tips.
The most common mistake when doing these is not controlling the amount of pigment you add to the gradation, it needs to be consistent.

After you have those more or less controlled, try complicating it a tad: light to dark to light & dark-light-dark.
All done? Satisfied with the result?
Then let’s dial it up to do gradations from one colour to another!
Practice using different pairs of colours, they don’t have to be 50%-50% you can try gradating them in different proportions too. And maybe after even add 1-2 more colours to the gradation and see if you still can do them smoothly.

2. STUDY LIGHT & SHADOW
Mastering “light and shadow” is always a key in art. But I believe that when you practice watercolours this makes even more sense.
When painting with watercolours, the most common is that you’ll work from light to dark.
And instead of using white, you use & reserve the white of the paper.
This requires a change of mindset if you’re coming from any other media, and maybe if you’re starting out from scratch too.
So, it won’t hurt to do some light studies of simple objects to start with.
(Basic shapes)
You can do it with objects from reality, but if you’re starting out maybe it’ll help to take a photo and turn it to black and white at first.
Keep in mind, for this exercise, you should work only with black or similar, colours will distract you in the beginning.
This applies to most of these exercises – keeping it monochromatic – at least when starting.
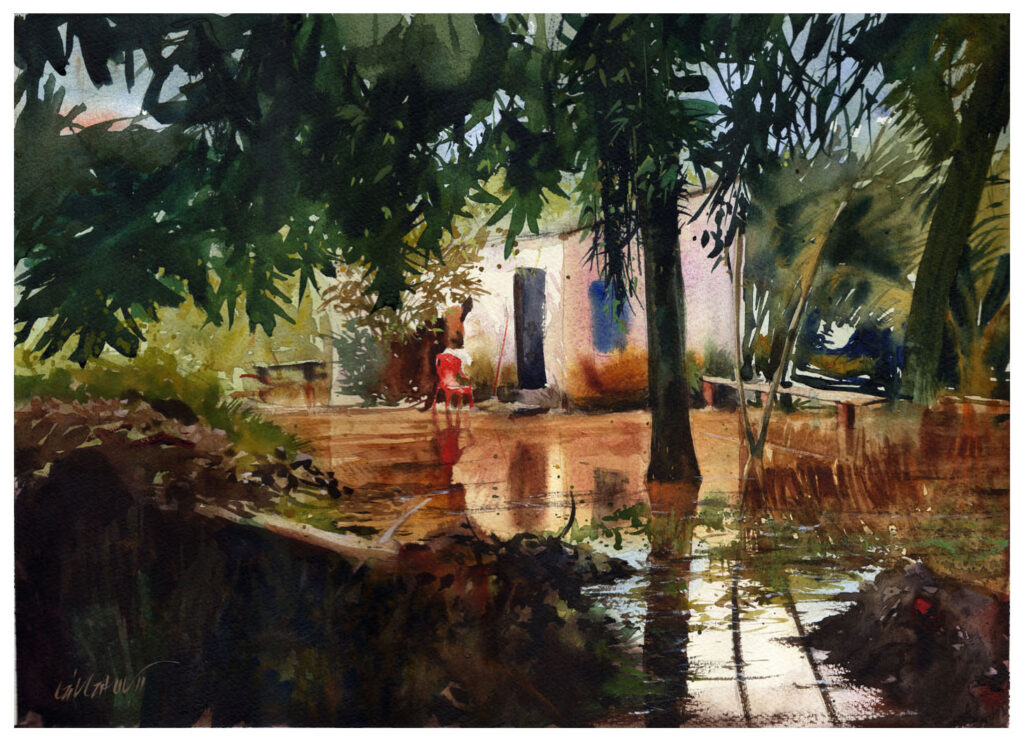
3. COPY WATERCOLOUR PAINTINGS
Yep, you read it right.
One of the main problems of artists starting out is that they try to capture every single detail they see. Simplification is really hard for them, maybe they don’t even believe it’s “right” or “allowed”.
This applies particularly well when you start painting landscapes.
I myself am still guilty of this sometimes.
Why am I telling you this?
When you’re starting out with watercolours it will be hard for you to simplify a photo or a scene on your own. But you have to, or you will frustrate yourself with unnecessary details.
It’s better if you do 10 studies in 10-12 hours than just 1-2. You’ll learn more, it’s simple logic.
The solution is to find watercolour paintings from other artists.
These artists have already learned to simplify a scene, so you can focus on practising watercolours and learn how they simplify things in the process.
Again, start with monochrome paintings before you move to colour. Turn the reference to b&w too.
Even what could seem very realistic is usually already simplified. But for the sake of practice simplification, go for studies or paintings that aren’t super-photo-realistic.
The first step is to observe & start planning. Where to paint wet on wet, where to do it wet on dry, etc.
You don’t need to worry if your copy isn’t exact, just do your best & you will improve.
Gonzalo Carcamo’s class on Schoolism is a really good one if you want to focus on exercises to get the basics of watercolours, I would highly recommend it. Also, he explains this topic very well.
Want to know more about Schoolism – the online school for artists – and if it’s worth it? Read my review here!
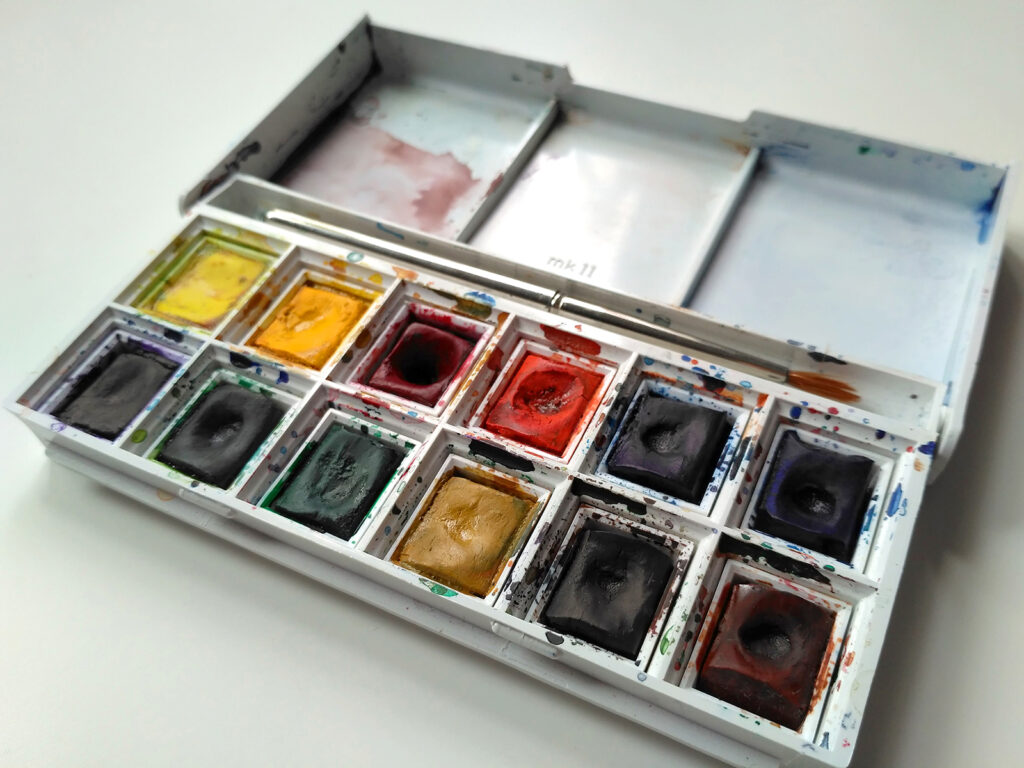
4. PRACTICE MIXING COLOURS
Colour time!
It’s really important that you practice mixing colours and swatch your paints.
More so even if you haven’t worked with colours before and you don’t know much about them.
Psst! – I have a little post on colouring basics that might help you with that:
So, how can you practice?
Well, things that come to mind is simply trying to obtain specific colours – look at an image, book colour swatches or something – with the ones you have, as close as possible.
Some might not be exactly obtainable if you don’t have the right pigments, so don’t get frustrated if they’re not exactly the same.
However, try to learn some basic colour theory to get better at it. It takes some time!
Also, try different colour combinations and swatch them, be creative. This also helps to see how some pigments react between them vs alone – and also its level of transparency, granulation, etc. can play in the matter too.
If you still don’t know about the characteristics of watercolour paint, read this post first. It’ll help you better understand its behaviour.
5. DRAW FROM REALITY
Once you start to control watercolour a bit better it’s time to start drawing from reality!
Drawing from reality helps train your eye.
Photos work too, but working from reality usually helps you improve and learn faster.
I myself I’m guilty of this. I suggest you at least try to combine working from photos with working with reality from time to time.
Start simple: fruits, simple objects, flowers, etc. – Yes, basically still life.

Later you can increase the difficulty.
You don’t even need to go out if you’re not ready; draw your window view, a space/objects from your house, your pets, friends & family, etc.
6. LEARN ABOUT COMPOSITION
Once you start working from reality – ahem ahem or from photos, if you’re rebellious – you’ll notice not all compositions are interesting to watch once you paint them.
This is usually due to poor framing and composition.
A composition, landscape or photo isn’t set in stone. Well, it could be, but not for you.
You’re not a photographer, you’re an artist.
If you have to move a tree an inch to the right cause it fits better with your image, you can.
In fact, I encourage you to feel free and make changes. Cause there’s always something that could be improved.
This does not apply only to move something; you can eliminate things, add others that aren’t there, modify the colours to convey a mood you have in mind. Anything, really.
So, this one is a bit more about you go read and learn a bit about stuff, than really an exercise.
But after you read a bit about it, maybe try taking a photo and find different ways to frame it and compose it in a few sketches.
It’s even better if you go to a place like a park and practice picking different compositions to focus on.
If I start explaining composition here it’ll take a while, so I might do that in another post. If this is something you’ll be interested in, let me know.
7. FIGURE DRAWING
You might be going into watercolours to draw landscapes & maybe still lifes – I’m only saying this cause landscapes are very common with watercolours.
Or maybe that’s not your goal for your practice with watercolours.
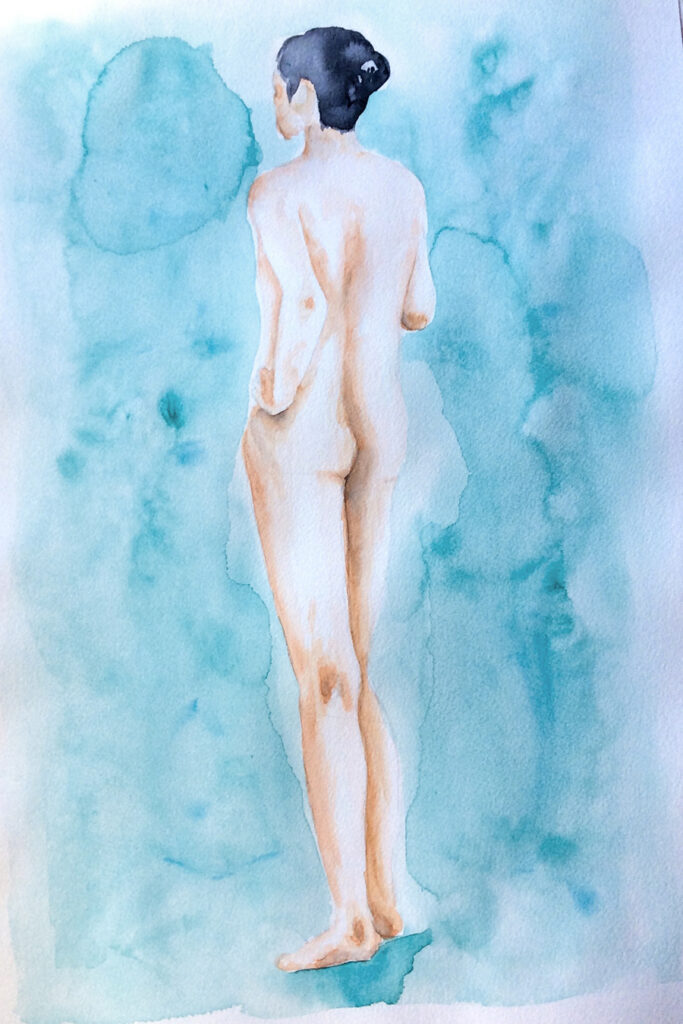
However, whichever might be your case, learning some basics about figure drawing won’t hurt.
If you’re going into landscapes, you’ll need these basics.
Because, yes, even landscapes have people from time to time. Actually, adding people to landscapes is usually a composition trick – sometimes – to give attention to a spot and add visual weight.
And overall, make it more real to the viewer; like adding a hint of windows or doors will give a sense of depth and size to the painting too.
So, grab some photos, or go to pages like Line of Action or Sketch Daily, or to a real figure drawing class to do a practice figure session from time to time.
Here’s two exercises you can do:
1) Grab figure pictures with & without clothes – it’s always good you practice both – do an initial 2-3-minute pencil sketch and then paint them with watercolours.
Don’t overdo the details, give yourself a limit of time, and try reducing next time you try it.
2) Do the same, but skip the pencil sketch. Go straight with watercolours.
This might seem scary, but I’m sure it will not be as bad as you think.
It’s more important the sensation of form and capturing the light than to try and capture everything exactly.
If you’re focusing on training for landscape paintings, try let in bleed between colours & parts to keep it looser.
SOME LAST TIPS
That’s it for the exercises to practice watercolours, if I can think of something else or more specific ones, I’ll update the post!
I might even record a youtube video doing some of these in the future and add it here, but we’ll see.
Now, here are some tips for you to consider from here on, both on these exercises and in your future practice.
Some you might have already hear me mention tho.
- The importance of planning ahead in watercolours. Plan before you start, it’ll save you a lot of work and make your process smoother.
- Think of capturing form and light more than certain specific details. Details are more useless than we usually think.
- Get in the mindset to group things to avoid detailing everything with unnecessary extra work. For example, a group of leaves on a tree can easily be grouped.
- Learn to use the dryness of the paper and of the brush to your advantage; to produce textures, for example.
- When painting it’s important you take in to account the hues both in light & shadow.
- And consider the warmth and coolness of each colour. Not all yellows or greens have a warm undertone, for example. This is important for mixing.
I hope these exercises are useful to you, let me know & share them with me if you do them, I would love to hear your thoughts!

