
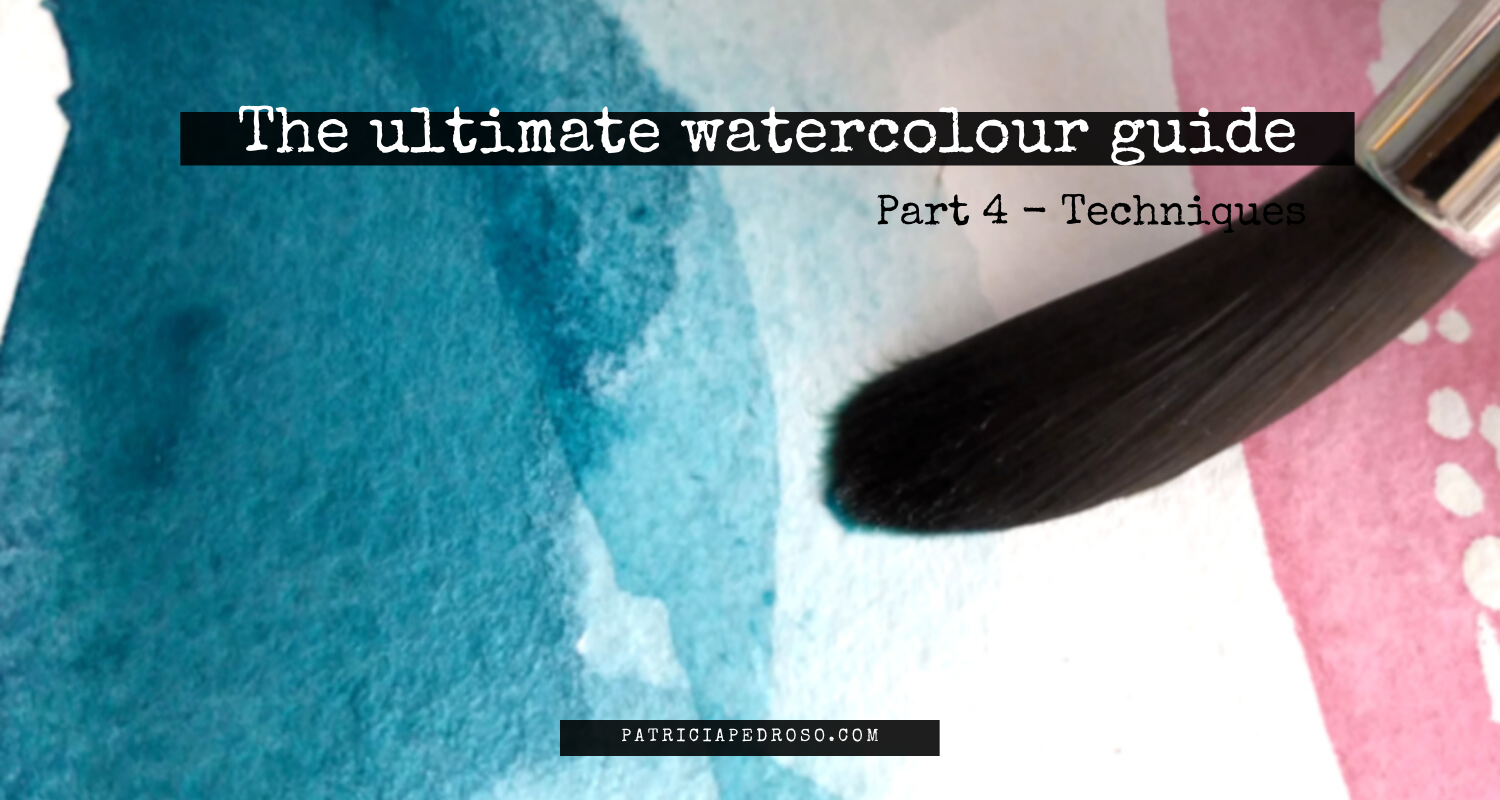
The ultimate watercolour guide part IV
When it comes to painting with watercolour, every artist that’s just starting thinks it’s a demanding medium.
It requires you to learn techniques unique to watercolour, unlike with some other mediums where methods might apply from one to another.
Not only this, but painting with watercolour also requires other skills.
Like learning to be patient and let your washes dry – or use help, like heat guns or hairdryers, but more on that later.
Or learn to anticipate how the pigment behaves when it comes in contact with water.
You need also to change your mindset and start working from light to dark, using & saving the white of the paper.
But is it really that hard?
I don’t believe so.
It’s like all in art, it just requires you to practice!
This post belongs to a bigger watercolour guide series, if you want to read more I will link the full series here: (will update it as I go for you to find them easily)
- The ultimate guide to watercolour: Introduction
- The ultimate guide to watercolour: Paints
- Watercolour Guide: Brushes & paper
- Watercolour Techniques: All you need to know (this one)
- The watercolour Guide: Extra tools to ease your process.
- 7 Exercises to practice watercolours
*Reminder that this post contains some affiliate links. This means I might get a small commission when you click and buy something with that link with no additional cost to you. However, my reviews and recommended products are not influenced by this, I’ll only recommend what I use and what I believe is good. Click here to read the disclaimer if you want more information*
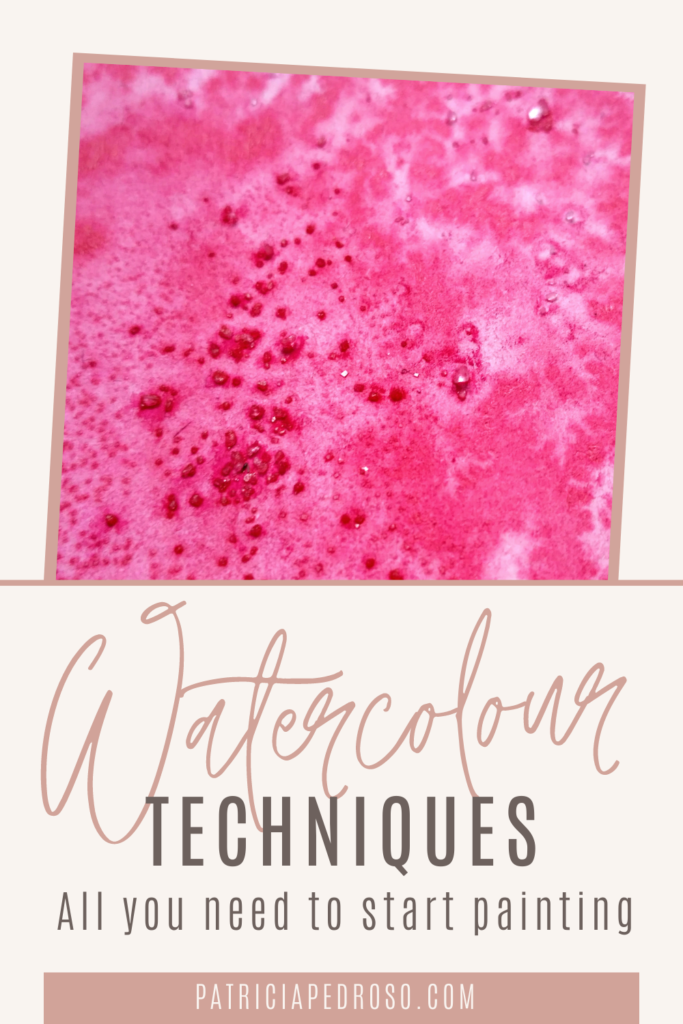
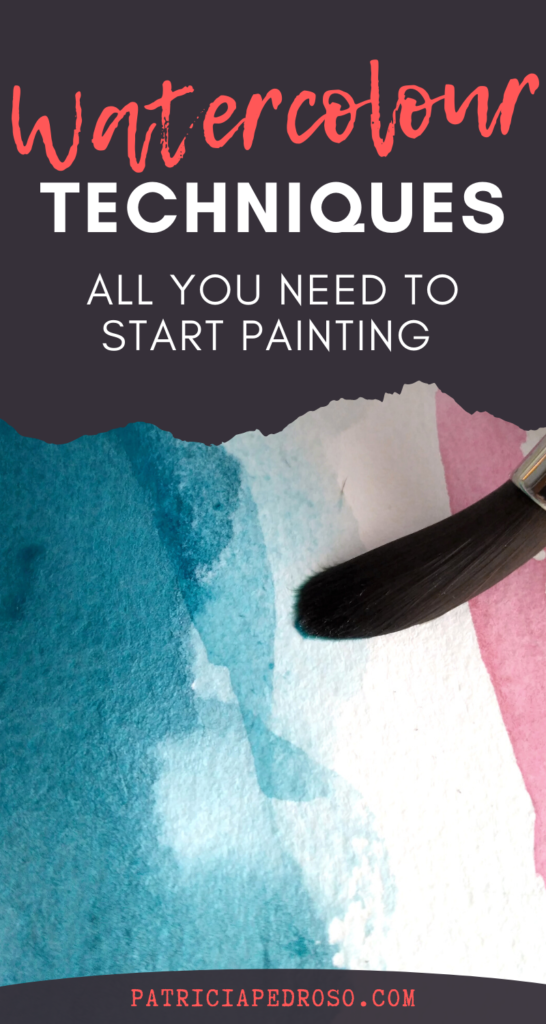
WATERCOLOUR TECHNIQUES
Painting with watercolour is painting with an active medium; it moves and changes, changing the absorbency, the shape of the paper when wet and the outlines & appearance of the paint.
So, as I said, you need to learn to anticipate its behaviour, but you also need to learn to let go.
Learn to work with it, don’t attempt to fully control it or dominate it.
You’ll get better results & less frustration!
Now, let’s talk about the different techniques you’ll need to know about to work with watercolours!
But before that…
This post will be accompanied by pictures I took myself to help illustrate the watercolour techniques & some videos from artists to help you see it better.
But please let me know if you think it’ll be helpful if I record a video doing these techniques to illustrate the post better – I might do it anyway in the future, but I want to know your thoughts!
BASIC WATERCOLOUR PAINTING TECHNIQUES
We’ll start with the basics, then I’ll move on to more advanced or experimental watercolour techniques.
These next few are the basics you need to learn to control to be able to paint with watercolour.
Make sure you try them & experiment with them to get the hang of how it works.
The combination of these will give you the tools to tackle any watercolour subject.
Washes
One of the most basic watercolour techniques, though some artists find it hard to master!
A wash is the application of diluted paint in a way that it leaves no brushstrokes but a unified area of colour.
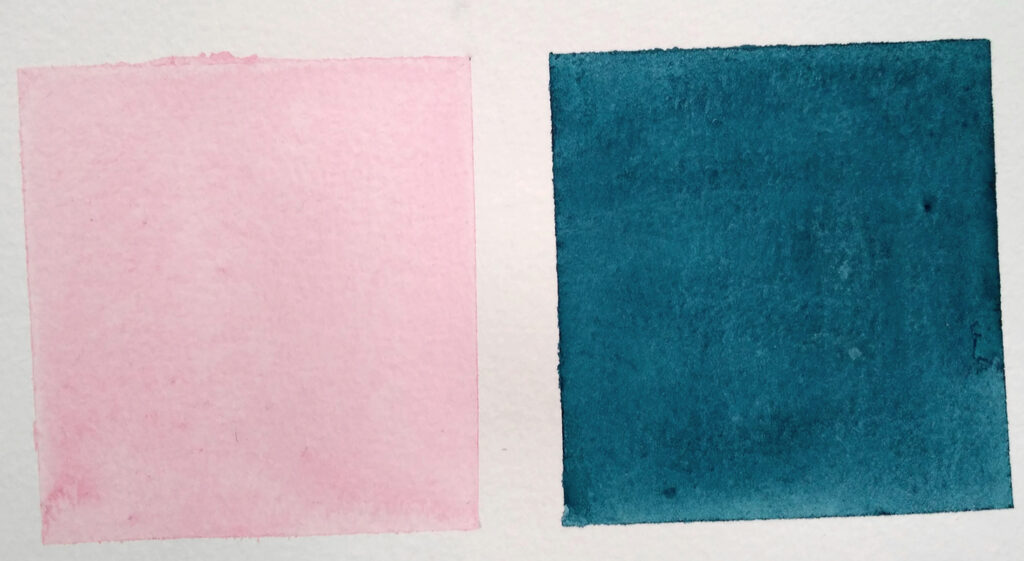
It can be done both on dry or wet paper.
It can be used with very little pigment to make the base of a painting (or fill a sky, background, etc.) but also can be a more saturated wash of colour.
When it comes to big washes of colour, the trick is to have the paper wet through the entire process, enough so you have time to fill the entire area with the diluted paint before any bit of it dries, or it won’t be a unified area.
It’s ideal to have your surface a bit tilted or inclined.
Start in the top and then add the paint with the brush from side to side, slowly lowering down to the bottom.
This way the paint spreads evenly and if you do it fast enough it won’t dry.
The inclination of the surface helps with the distribution of pigment.
When you reach the bottom either clean the excess water if you’re keeping the surface tilted or lay it flat for it to dry evenly.
If it’s in a small area it’s easier, it only requires you to try and have a single solid hue, making sure your colour looks even.
Glazes
Watercolour usually uses layers to build up colours, and glazes are a way to do this.
A glaze is a wash of colour over an already dry layer of paint.
It can be used to mix colours, adjust a colour, produce a delicate colour transition, smooth out certain zones & more.
Usually a glaze it’s done with the paint a bit diluted so you can allow the layer or layers below to show trough.
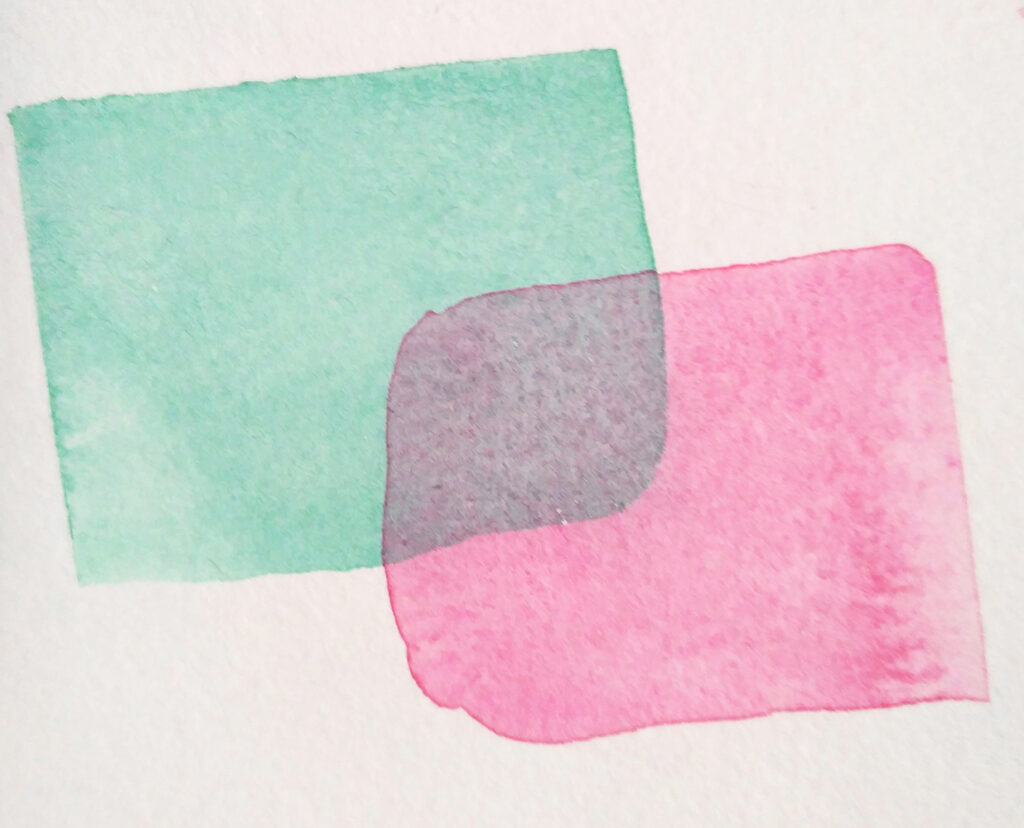
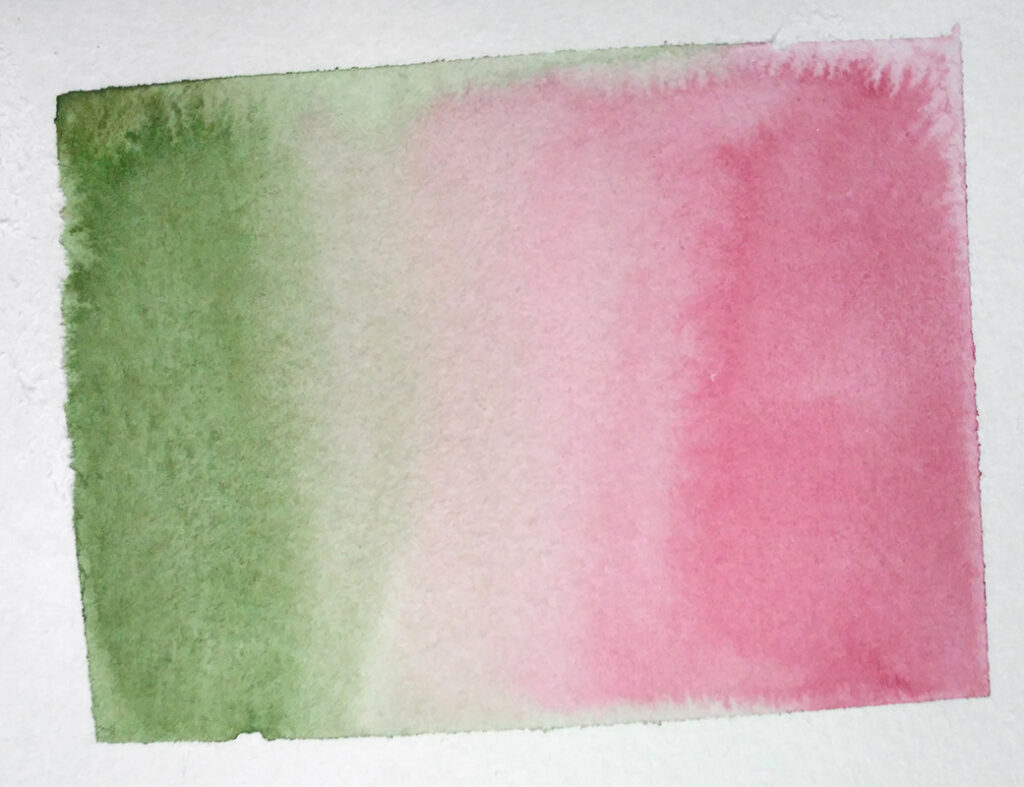
Wet on Wet
You could say this is the most distinctive watercolour technique; the one that creates the effects watercolours are recognized from.
As the name says, it involves any application of paint in an area of the painting that’s already wet.
The paper can be wet with just a layer of water or with pigment too, – in this last case, the pigments will mix in a soft blend – the brush is also wet and loaded with paint.
The effect it produces is the result of the pigment dropping on the paper and expanding trough the wet area in irregular ways.
It leaves softer edges & it’s pretty much impossible to make detailed shapes with it.
It’s quite satisfying to watch but a bit frustrating if you’re attempting to control it.
This technique will always be exciting, spontaneous & challenging, as you’ll never fully control it.
I must add, the grade of wetness of the paper affects the spreading craziness of the pigment.
If you let it dry a bit, keeping the paper a bit damp, the pigment will blend without running amok, giving you a bit more control.
Anyway, you should always have a dry brush or a tissue/napkin at hand to absorb the excess water or pigment.
It can be done, but it’s much harder to achieve a flat colour wash with this technique, as it’s harder to control the distribution of pigment.
Dry on Wet
This one is usually less mentioned, cause it’s a bit of a variation of the previous.
In this one the paper is wet & your brush slightly on the dryer side.
As, of course, your brush always has some wetness.
The thing here is that the brush is dryer than the paper, so the application of paint creates subtle shapes, but more controlled than with the previous technique.
Also, on this method, the paint is more saturated, sometimes even applied straight from the tube, so it creates shapes that are more vibrant.
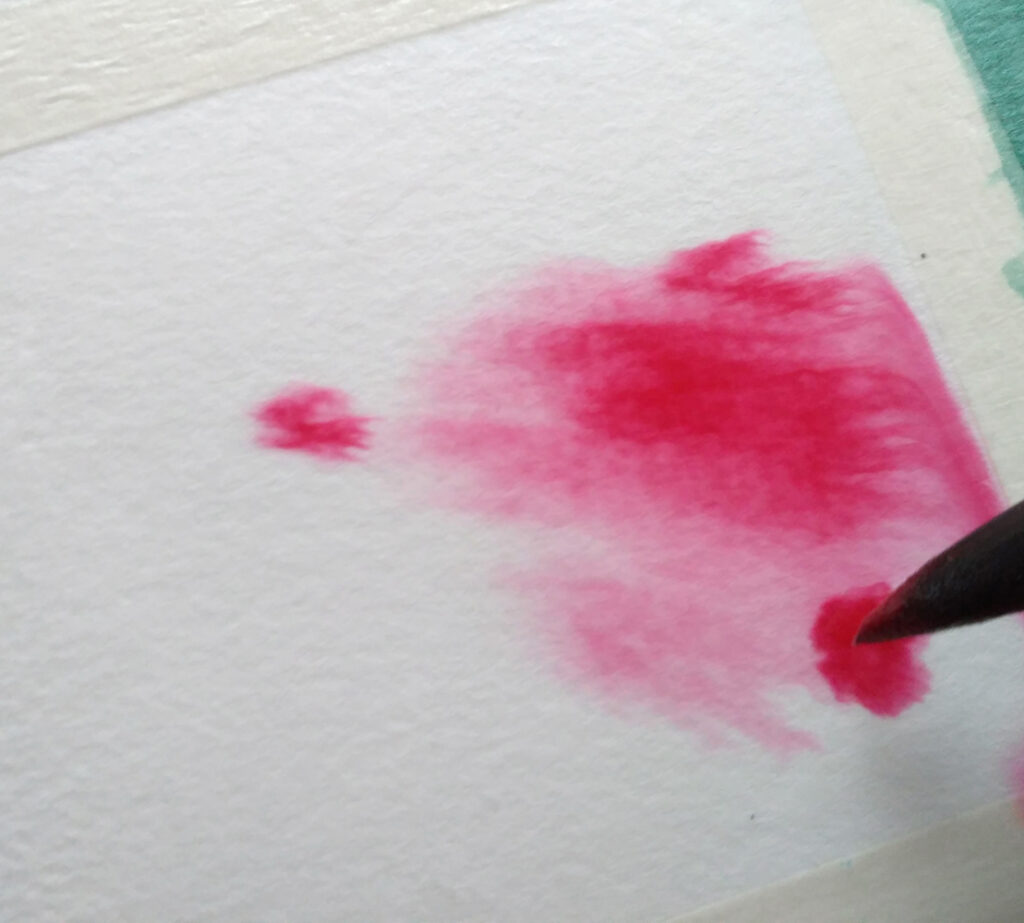
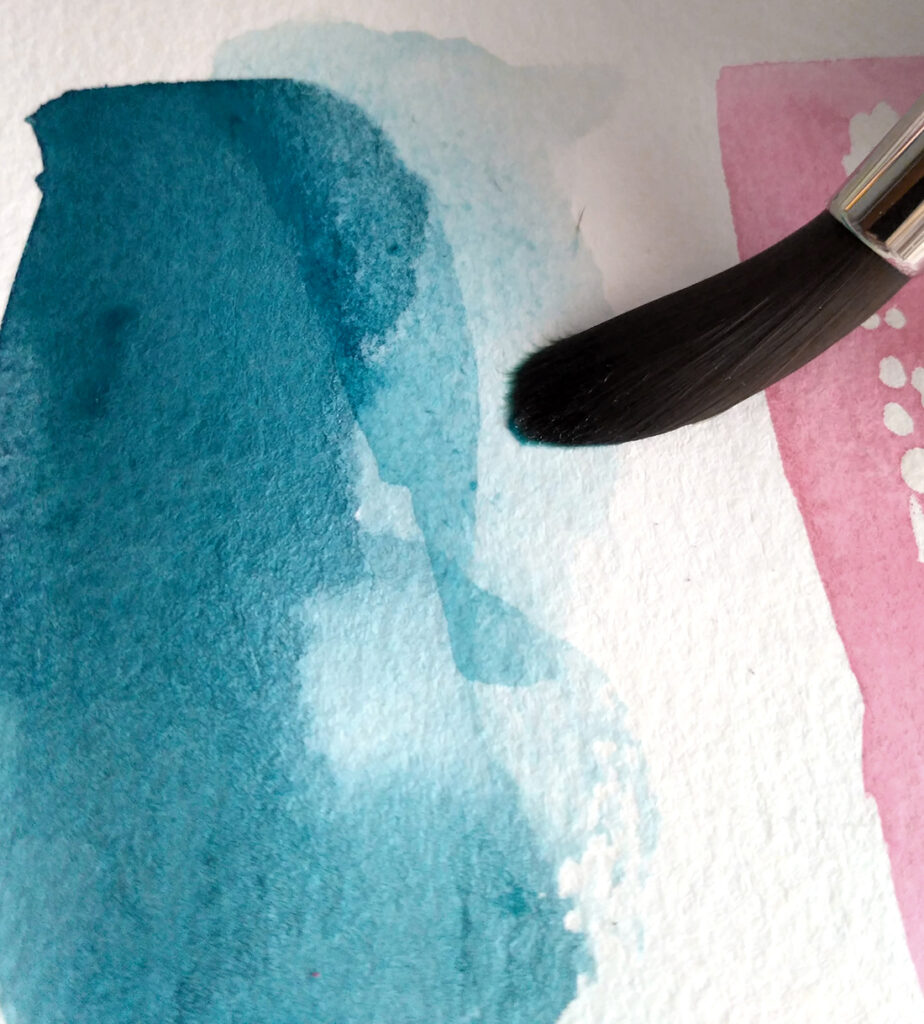
Wet on Dry
Wet on dry is the expression used for when painting with your brush wet – enough so the paint is fluid – over a dry area.
This technique is the main way to paint with watercolour, and it can be both used to do a big wash over an area or add tiny details.
It can be applied as a flat colour or illustrated; creating gradations of some sort – further explained later.
When painting broad washes, it’s important to keep the colour moving.
Your brush should be loaded enough and don’t let the paint dry between strokes.
Same as a wash, really.
It’s easier to control, that’s why it’s ideal for precise illustration work.
It creates clean & crisp edges when it dries.
These hard edges can always be softened; if you add a bit of water when it’s drying it and spread it a bit and even combining it with another colour to create a soft mix.
I don’t think I need to add this, but just in case;
It’s important to let a layer dry fully before trying this technique, even “almost dry” will not work the same.
Drybrush or Dry on Dry
The name of this one says it all.
Basically consists of using a dry – well, almost dry – brush over a dry surface.
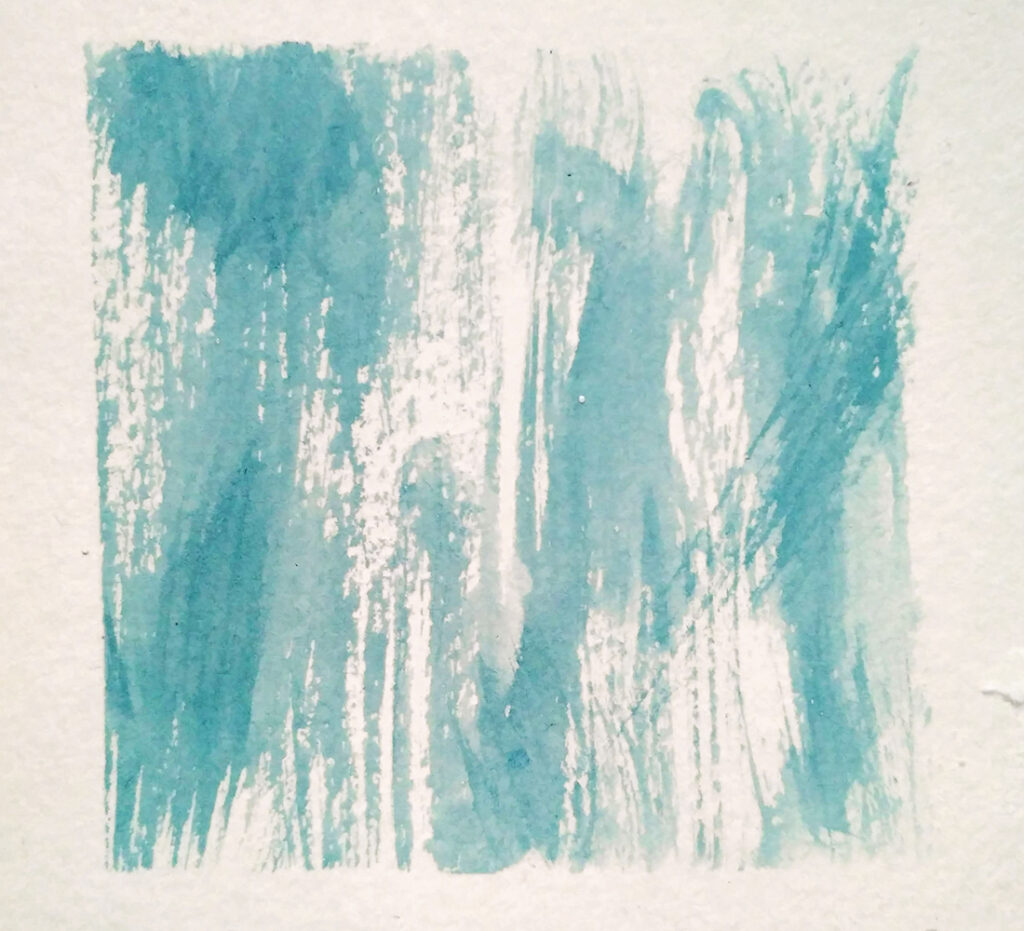
The result usually takes advantage of the texture of the paper. The water doesn’t reach the valleys of the paper, leaving highly textured marks with a feathery quality.
As with all of these, it can be used over a wash of colour or over white.
It’s a great technique to imply fur, hair, foliage, etc.
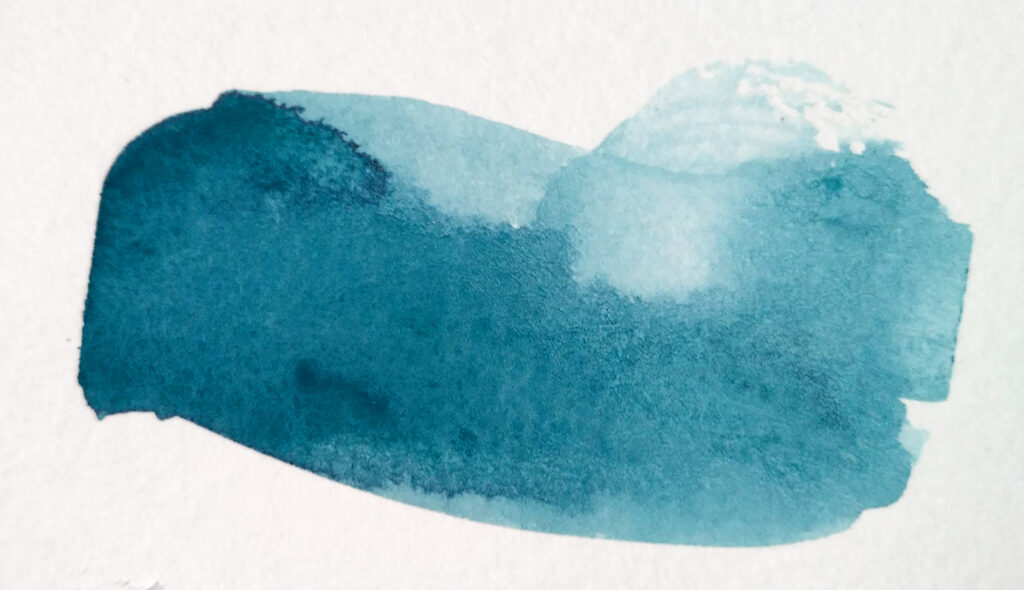
Degradations or Graded Washes
These kinds of washes show a transition either from light to dark or vice versa.
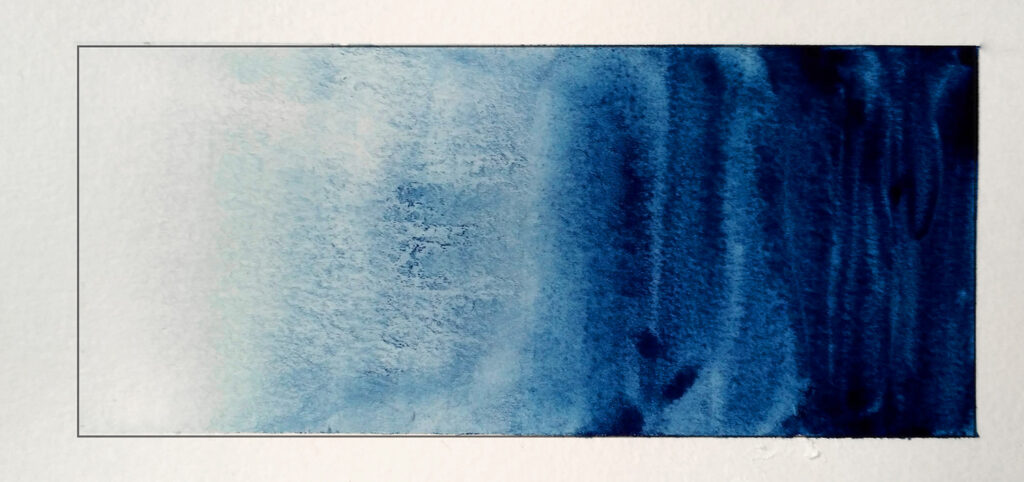
Or from one colour to another.
Practice gradations will help you learn to control the paint better.
The most common mistake when doing these is not controlling the amount of pigment you add to the gradation, it needs to be consistent.
The steps to get a good gradation – let’s say from light to dark with a wet on dry technique – will be:
- Start by working on an included surface, this helps to keep an accumulation of water in the bottom that will bring pigment down, smoothing & mixing the transition colours
- Start just with clean water. Work one stroke at a time, don’t smudge it.
- Add a bit more of pigment with each stroke, letting the accumulation of water drip down with each stroke. Be consistent & try them on a separate piece of paper beforehand if needed.
- Keep going till you end with the most saturated tone.
This is just one method, it’s the second Danica uses on this video, the blue one – more or less, before adding the second layers.
EXTRA WATERCOLOUR TECHNIQUES
These are more focused on creating effects on the painting.
Most times they aren’t even necesary, but it’s good to know them anyway for when you might need them!
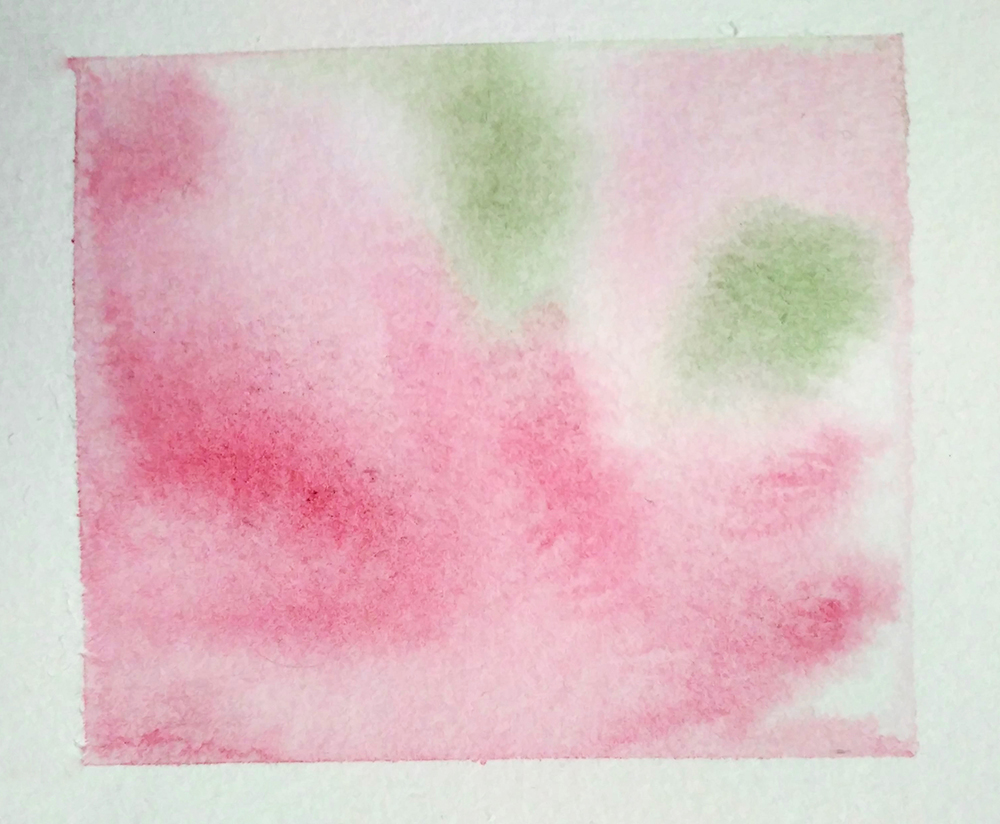
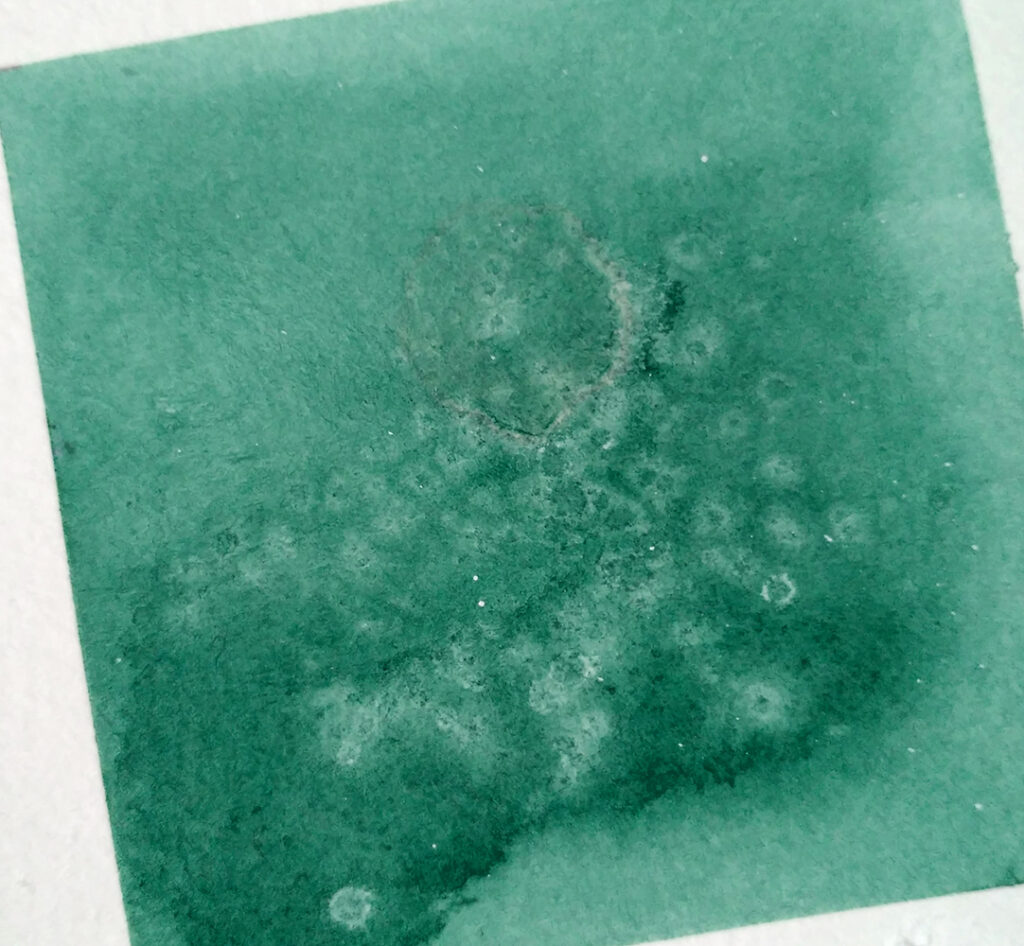
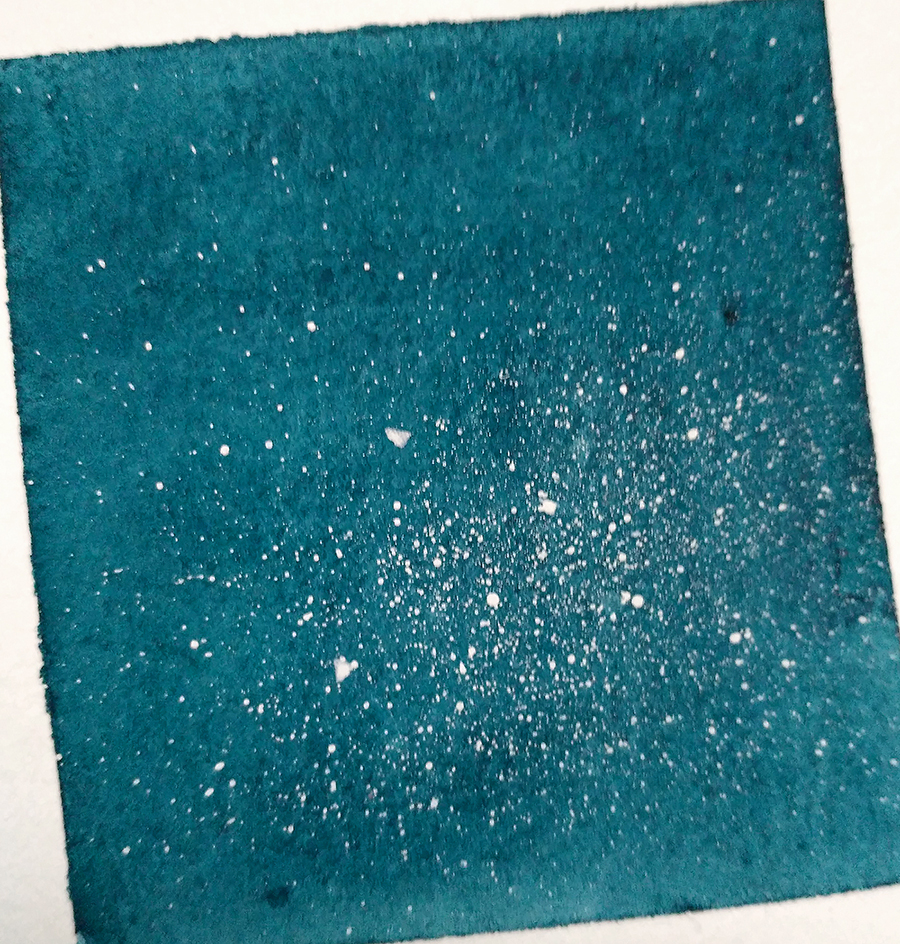
Salt
Common kitchen salt can be applied to watercolour to create very cool effects.
The salt absorbs the water & pigment of the area it’s in.
You need to make sure the area you’re applying it to it’s quite wet & has pigment before spreading it on.
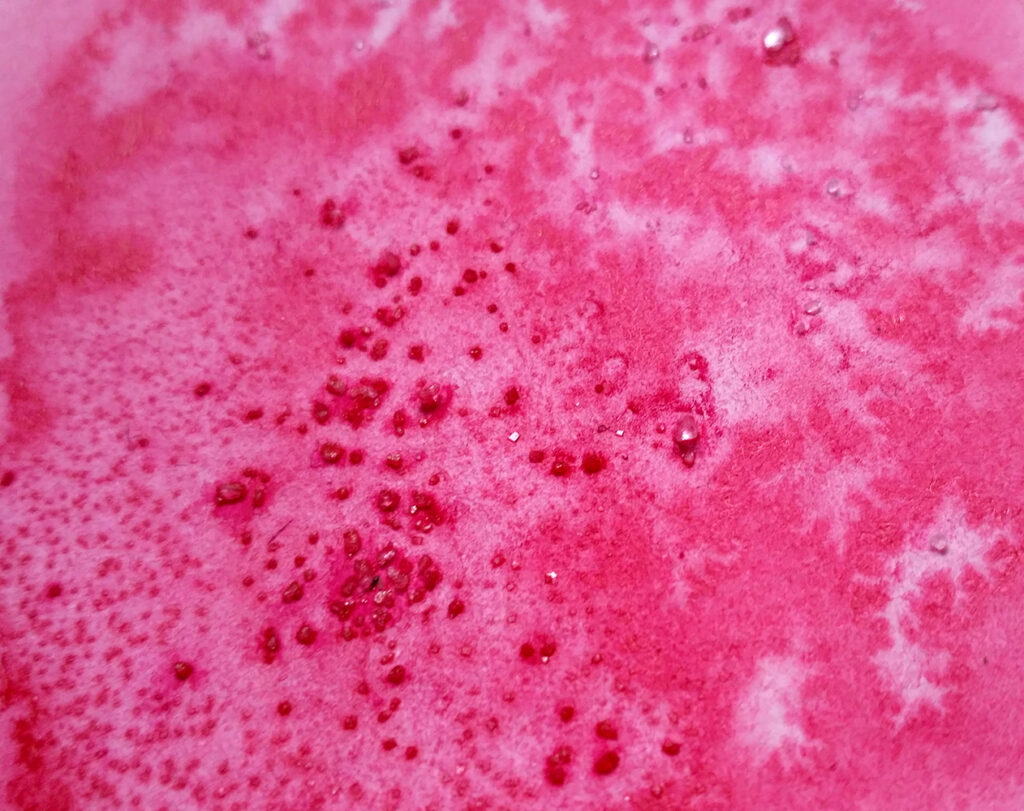
It takes a bit, but the salt eventually soaks up the water.
It leaves a residue when it dries, so you need to remove it after painting.
But before you do that, make sure you let it dry completely, maybe even overnight.
Rubbing Alchohol & Bleach
Same as salt, alcohol reacts when in contact with water
Though in this case, the effect it’s more reminiscent of the way water and oil do when mixed.
Spraying a bit over a wet wash will create a nice textured effect.
Bleach will lighten up an area of paint, but it might change the colour slightly.
If you want to try it, apply with an old brush & leave it there for a bit to see some results.
Masking Tape & Fluid
You can use masking tape or masking fluid to stop pigment to reach certain areas.
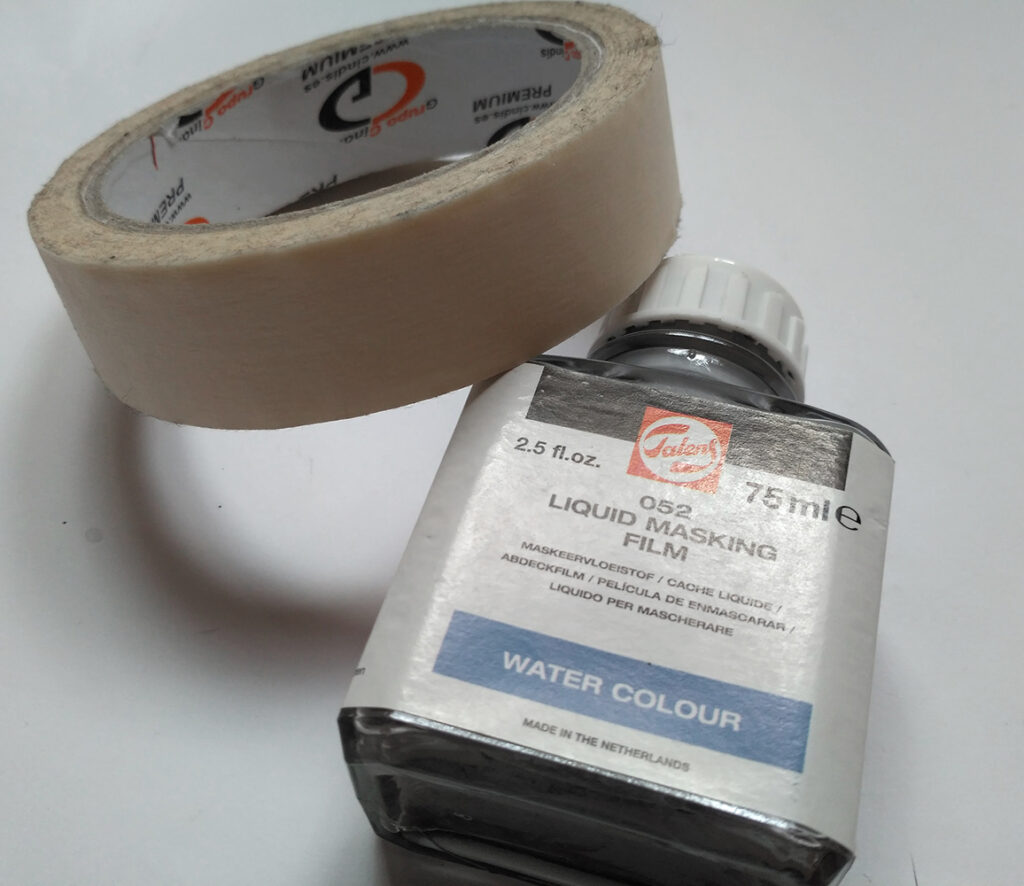
The tape is commonly used to fix the paper to a surface to keep it flat & leave a nice controlled white frame around your painting.
But some people also cut it in certain shapes to cover bigger areas.
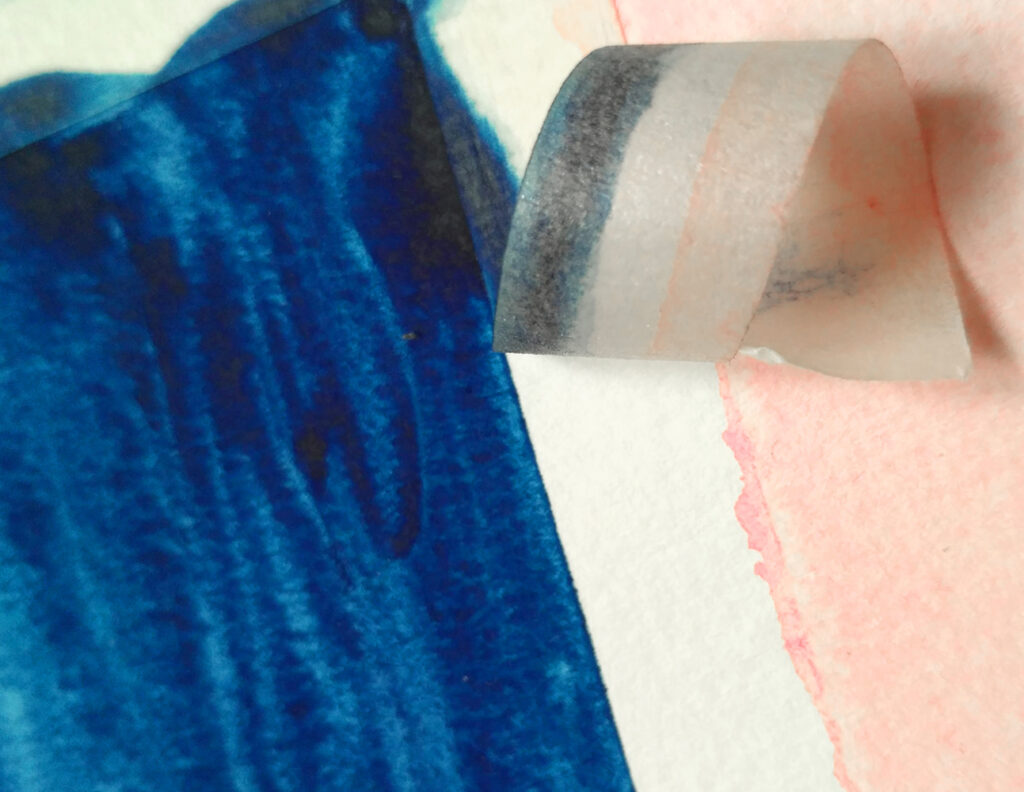
Masking fluid it’s like liquid rubber that is applied with a brush, is better to cover small areas that you want to leave white or with the colour below.
Once you’re done, this last one peels like rubber after you rub it softly with your fingers.
But!! – I wish someone told me this the first time I used it…
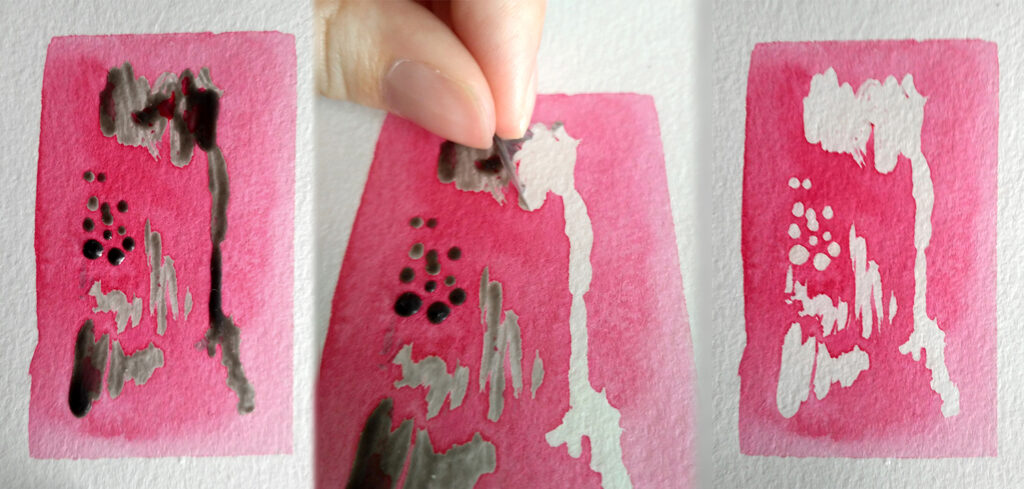
A few words of warning about masking fluid:
- Don’t ever use new or nice brushes with masking fluid, it completely ruins them.
- Let it dry completely before start painting, it doesn’t take long.
- Let the paint dry completely before taking the masking fluid off.
- Avoid dipping the whole brush tip on the fluid – don’t let it come too close to the ferrule, aka metal bit.
Paper
Okay, this is one you will probably always use when painting.
Paper is your ally when working with watercolour.
Always have some sort of napkin or tissue paper near you!
Well, any absorbent material will work, really; cotton, cotton buds…
With these, you can lift colour from the paper, “erasing” the pigment, but only when it’s still wet.
Sometimes wetting it for a bit also works to lift some pigment, but it might not work with all the paints or pigments because of its permanence – more about that on the post about watercolour paints.
It’s also especially useful to lift blobs of pigment or water that might have accumulated by accident.
But that’s not it!
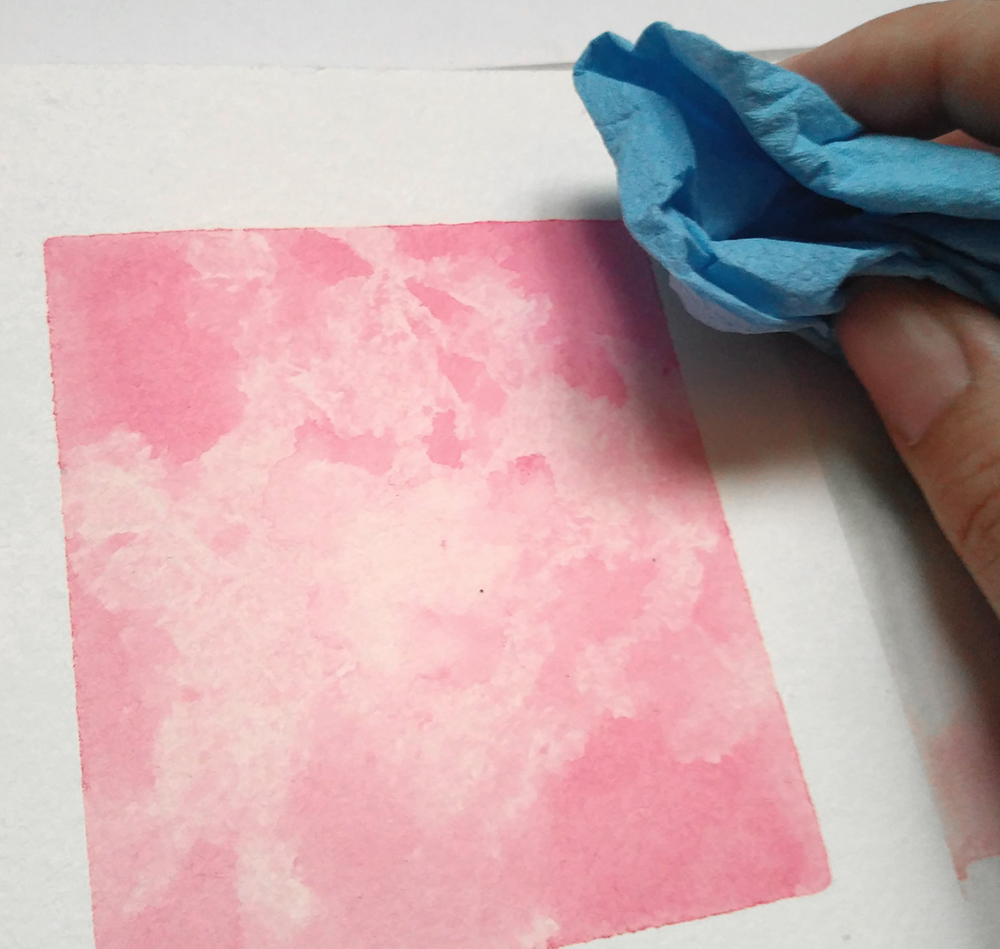
You can also create textured effects when you dab a dry tissue over a wet area – this also works with a sponge
“Creating” white
Even though watercolour techniques revolve around leaving white areas, there are certain ways to “create” this white after you’re done painting.
Bleach – that I mentioned up there – lightens your paint a bit, though I don’t feel is a very controlled process.
Most of these techniques work in a way to scratch the paper to add lights
And in all of them you must wait for the paint to dry before trying it.
Or you can expect horrible results…
For this, you can use the flat edge of a craft knife – it will leave a mottled effect – or sandpaper, both producing a similar effect.
You can also scrap the paint with the point of a craft knife to create lines or dots of white.
A few others:
- Splash/splatter paint. Can be done both on wet or dry paper for different textures.
- Putting plastic on top of wet painting & letting it dry can also create weird & cool effects.
- Thumb to remove/lift paint too.
- Opaque painting for finish touches – but usually better to avoid plain white, mix a dab of colour with it.
- Candle wax or wax crayons for masking, the wax resists the paint. – I haven’t tried it, but I don’t think you can take it off afterwards if you want to.
SOME FINAL TIPS
A few that I couldn’t seem to fit elsewhere:
1) “Erasing” with brush or paper; A clean, mostly dry brush will pick up wet pigment from the painting, “erasing it”.
Same with paper, but I already explained that up there!
2) There’s this tip of covering the brush in soap before dipping it into the masking fluid to protect the brush.
But you need to rinse & wash it immediately after using it.
I haven’t tried it yet but is supposed to work.
Still, use older brushes for it just in case.
3) You can “dissolve” hard edges by adding water and rub it gently with a brush.
And that’s all for today on watercolour techniques!
Now you have all the basics you need to start out.
If you’re still in doubt about where to start you can do so by practising these techniques.
But I’m gonna dedicate one of the next posts to that; exercises for you to start practising & I will also talk about extra things that can be combined with these watercolour techniques.
If you want to be notifyed of that and any other updates on the blog you can sign up to my mailing list.
And while you’re on that, feel free to grab some freebies 😉

