
For a more advanced & easier approach
In today’s post for the watercolour guide series, I’ll be talking about a bunch of extra tools and resources – although some are more like tips – to make the watercolour painting process easier, help you experiment or find new techniques.
I want you to know most of these are not a necessity, but some will certainly make your painting process smoother.
In any case, I still think is good to know these resources are out there, and how you can apply them, just in case you want to experiment with them.
It did took me a bit to find out about some of these extra tools.
So I want to let you know about them upfront so you decide how & when to use them.
This just seemed like the perfect follow up for the previous post, where I told you all about basic techniques.
Let’s dive in!
This post belongs to a bigger watercolour guide series, if you want to read more I will link the full series here: (will update it as I go for you to find them easily)
- The ultimate guide to watercolour: Introduction
- The ultimate guide to watercolour: Paints
- Watercolour Guide: Brushes & paper
- Watercolour Techniques: All you need to know
- The watercolour Guide: Extra tools to ease your process (this one)
- 7 Exercises to practice watercolours
*Reminder that this post contains some affiliate links. This means I might get a small commission when you click and buy something with that link with no additional cost to you. However, my reviews and recommended products are not influenced by this, I’ll only recommend what I use and what I believe is good. Click here to read the disclaimer if you want more information*
USE TWO JARS OF WATER – EXTRA TIP: SYRINGE
So, most artists swear this is “the hack” when it comes to watercolour.
And yes, having two jars of water when painting can be really practical.
One is supposed to be for you to rinse your brushes – the one that will get dirty – and the other specifically for clean water; for mixing paint or whenever you need it.
It basically saves you some back and forth to clean up your water while painting.
Cause you’ll need clean water for mixing colours that aren’t muddy.
Then again, although I do think this is a great hack, I don’t use it much.
Why?
Well, I use a syringe instead. This is something I picked up in art class and I never really stopped using it.
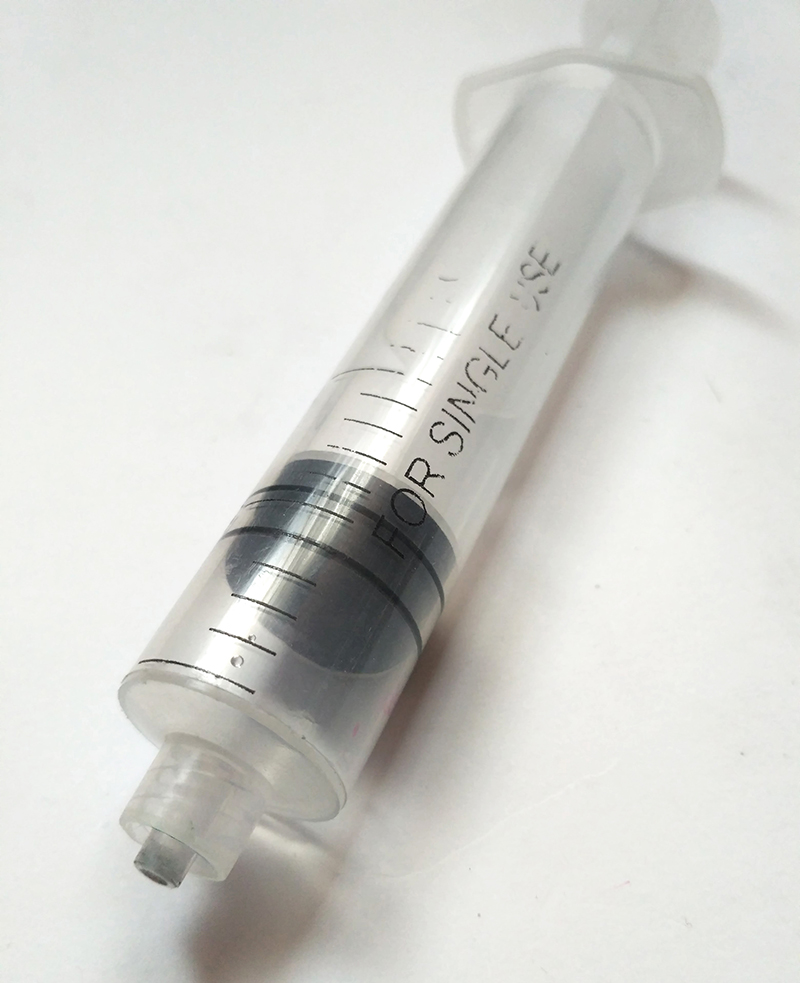
The thing is, I keep the syringe with clean water and I use it for mixing paint. It helps too with controlling the quantity of water you add to each mixture, and sometimes it makes it easier to recreate the tone.
Syringes are cheap, last quite some time – even if they sell as disposable – and I think you can pick them up in any pharmacy/drugstore.
Just a little note if you’re thinking of trying them; I’ve realised big syringes tend to be more impractical, as it’s harder to control the quantity of water that comes out than with medium/smaller ones.
I find this size to work perfectly, not to big, not to small.
SPRAY BOTTLE
This was one I started using for gouache, because it dries quite fast but it can be reactivated.
And now I moved it for when I work with other wet media like watercolour or acrylics too.
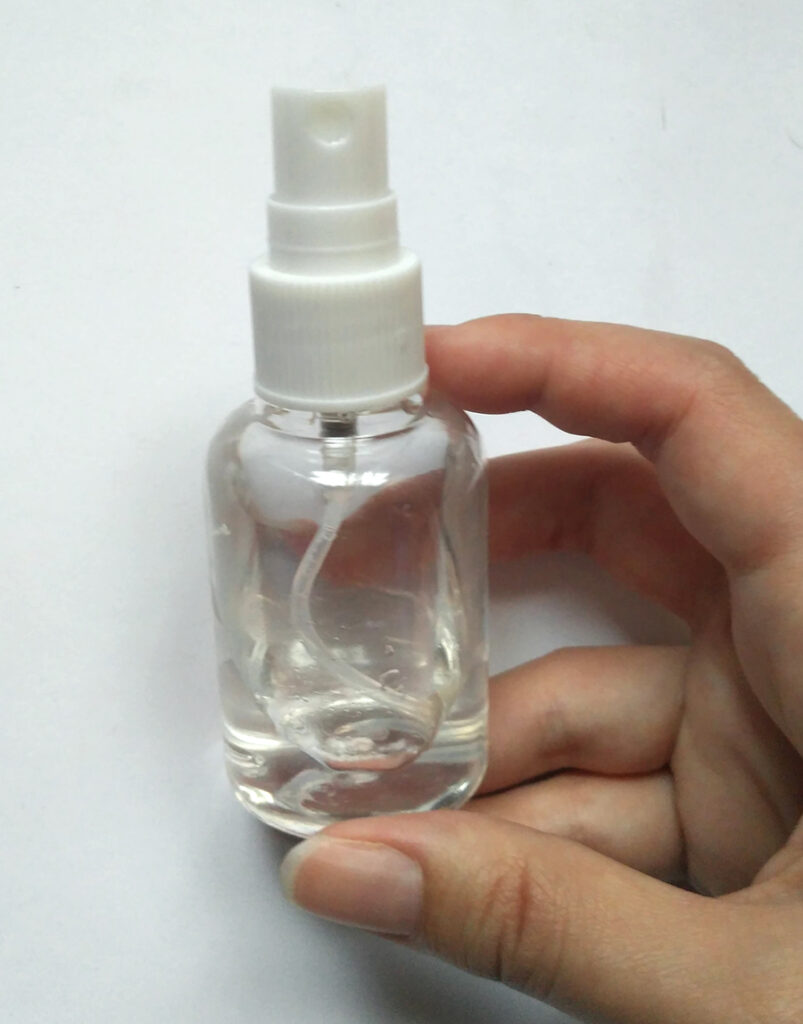
It’s really good to wet your paint on the palette in a few seconds, avoiding to wear out your brushes so much. – read more in the post about brushes & paper.
When it comes to extra tools, a spray bottle is a basic. Just a good and cheap investment.
It can be especially helpful when painting outside to keep your paints moist, cause paints usually dry too fast outside.
And it works for creating effects on the water too.
These small ones feel really practical for me. But you can always reuse one from any hair or makeup product.
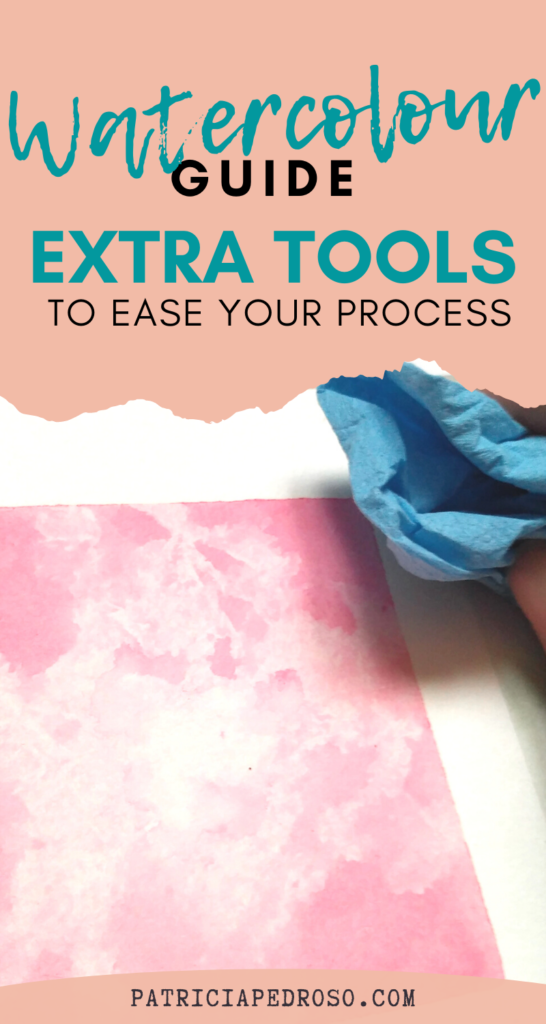
SPONGES, CLOTHS OR PAPER
More than “extra tools”, cloths or paper are basic options that you simply need when painting.
For drying your brush, create effects, etc. Just as I explained on the watercolour techniques post.
But I found out that these cellulose type cleaning sponges absorb water best for when you’re trying to dry your brush – I’m just adding an image out of amazon cause I don’t have any at the moment.

Much faster than a cloth or paper, making your repetitive cycle of cleaning, rinsing and drying your brush a bit more efficient.
Again, having these is not a necessity, just a bit of a level up to make your process smoother.
HEATGUNS OR HAIRDRYERS
I found out about this a few years back, before that, I never realised you could use heat guns to dry your watercolours washes in just a minute.
It’s a bit obvious when you think about it because in watercolours is really important to be patient and let your washes and layers dry properly before you work over them.
Unless your planning on using a wet on wet technique, of course.
This is perfect if you have 0 patience, or simply to work faster.
Now, personally I haven’t tried heat guns yet – though I’m thinking about getting one in the future – you can see Danica Sills on her youtube channel use them frequently.
And this is the one she recommends.

Careful: It might take a bit to get the hang of it so you don’t blow away the excess paint while it dries.
The cheaper option, mainly cause most of us have one at hand, is using a hairdryer instead.
I’ve used them and they do their job, but I believe these are a bit more uncontrollable, as well as it takes longer for them to dry things.
Anyway, it can be a good option if you don’t want to invest in a heat gun or if you simply want to see if you like the feeling of drying the layers like that first.
EASEL
Easels are a thing that might be a necessity for some artists – maybe if you come from using oils or fine art training. While for others, they’re simple extra tools.
There are three main types of easels; tabletop, the standard standing easels and wooden box.
There’s more if we want to really go into it, but I’m mainly gonna focus on the two that I feel work best for watercolours.
So, I’m just going to ignore the standing easels, cause I don’t feel working almost vertical is practical with watercolours.
Maybe that’s not the case for you but I feel it is for most people.
That’s why the best fit for watercolours will be a tabletop easel. This type of easel is specially designed to be used on top of a table and you can adjust its tilt to your preferences.

It’s ideal when painting with watercolours to work mainly on a tilted surface, not too vertical.
These easels help with your posture when drawing, perfect for a home/work studio.
Now, for a watercolourist that likes to paint outside or moves around to paint, the most popular & best suited will be a wooden box easel.
It’ll cover two purposes: store & support.
The wooden box easel, as the name says combines a traditional collapsible easel with a wooden box where you can carry your paints and supplies. The box also lays flat as a “tabletop” that can be used to paint on the go.

I bought myself one of these, and it is really practical when travelling and also compact to have and store.
I bought it mostly for oils, that I don’t use that much, but I do think its good quality and practical.
GOUACHE
So, I’m having a separate point for gouache – next, I’ll talk other mediums – cause gouache is the closest medium to watercolour.
It has been used over the course of history, and still today, mixed and complimenting watercolour.
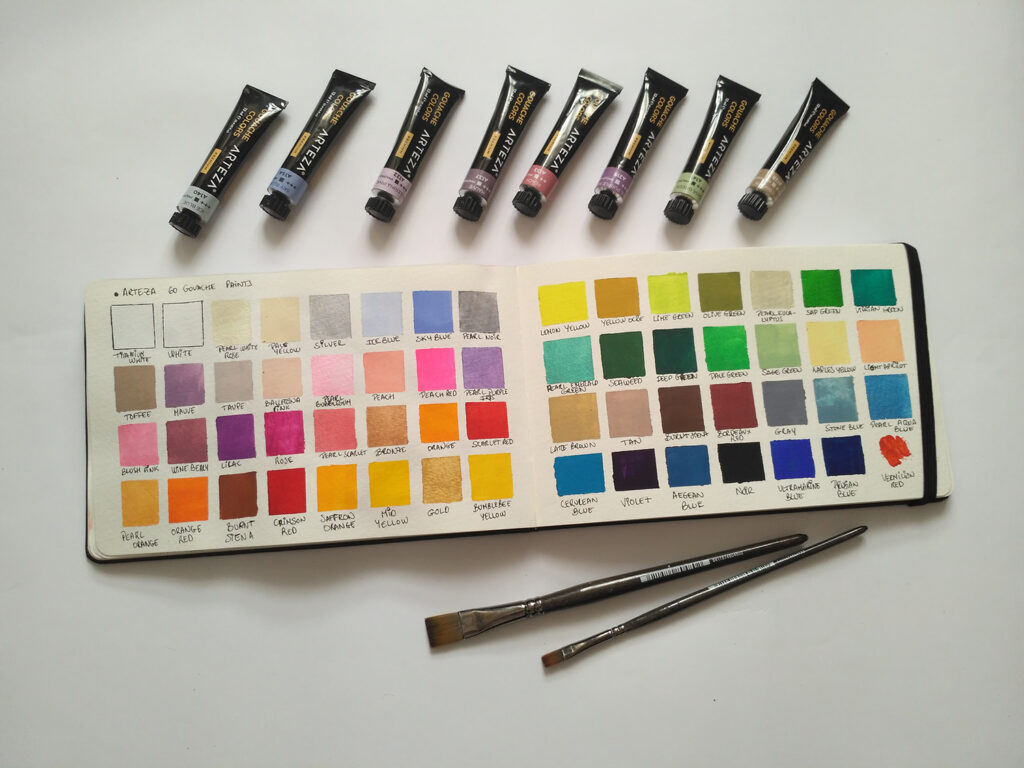
Gouache is also known as “body colour” and it’s an opaque type of watercolour, well, they’re made with very similar materials.
The difference is that the paint will dry to an opaque, matte finish, and its main advantage vs watercolours is that it can be used light over dark.
But if you’re interested in knowing more about gouache, I have a dedicated post here.
While you don’t have to use it, it can be easier to use it to achieve certain looks in your paintings.
But even if you don’t want to use it, having a tube of white gouache is always helpful to correct stuff on your watercolour paintings, had highlights or restore “white spaces” you might have covered.
Even though it usually looks more natural if you add a slight tint (can be mixed with watercolours) to the white to avoid using just pure white.
WHITE GEL PENS, POSCAS, ETC.
Just the same as using white gouache over the watercolour to add highlights, really.
The only thing though is that its usually hard to get a good gel pen and when you do, they don’t last too long.
When it comes to gel pens, a lot of artists swear by the Jelly-Rolls.
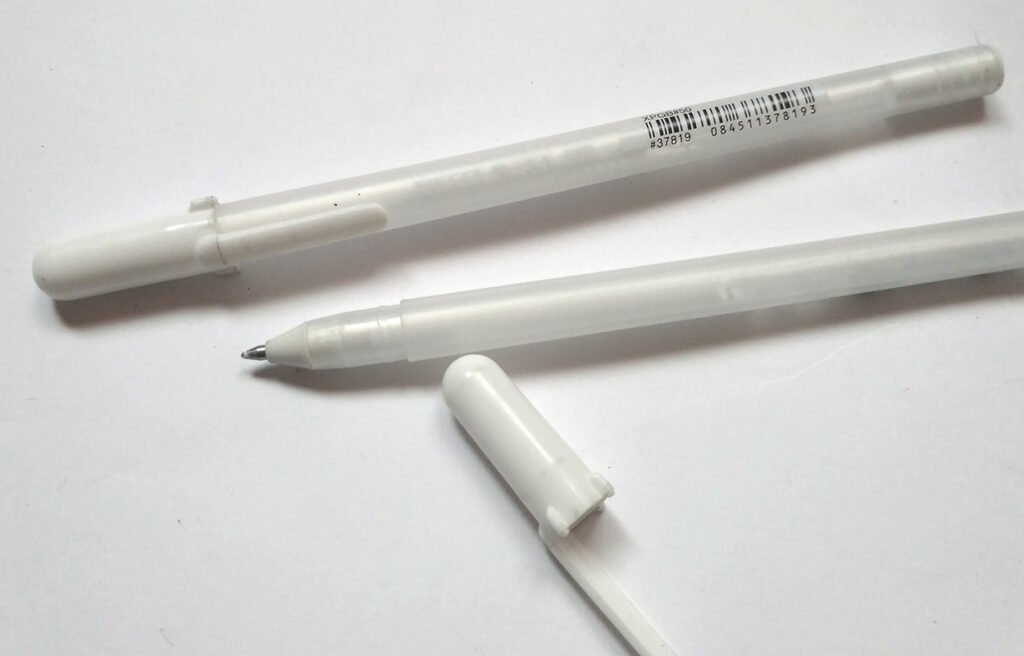
Honestly, I’ve tried them and I think they’re overrated. Not bad, but they don’t have much coverage. They’re cheap though, so it can be a good option to try out.
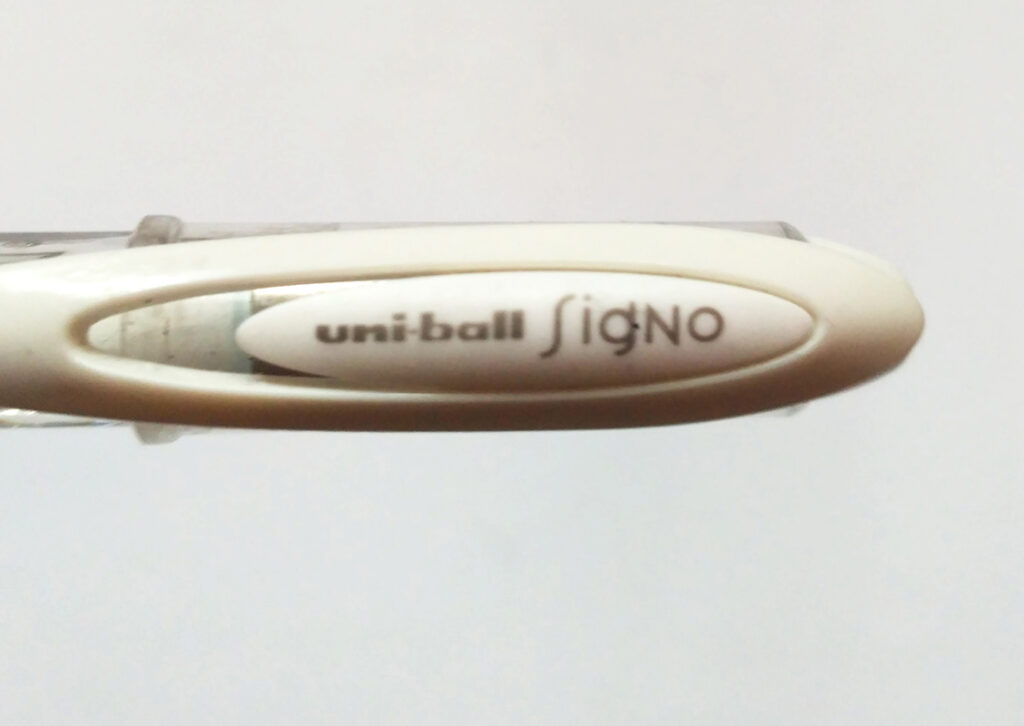
The best gel pen I found – confirmed also by other artists – is the Uni-ball Signo that you can find here. Slightly more expensive, but much opaquer.
I remember mine didn’t last long but I don’t know if it was because I had a bit of gel-pen frenzy back then, or because they usually don’t.
And if you’re into it, there’s also gold/silver gel pens to embellish your work.
But so far, I moved out of gel pens.
Then I tried out with white Poscas. In terms of coverage, their ink is really, really opaque – it’s actually because its ink it’s like acrylic paint.
Depending on what you’re looking for this could be your thing, in my case, I’m still not completely convinced.

For now, I think what I like the most is white gouache as it’s more versatile, but I have to find a really thin brush for some details, cause sometimes the application can be harder there.
Also, as an extra, artists like Kelogsloops use white ink with an inking nib for this same purpose, that could be practical too.
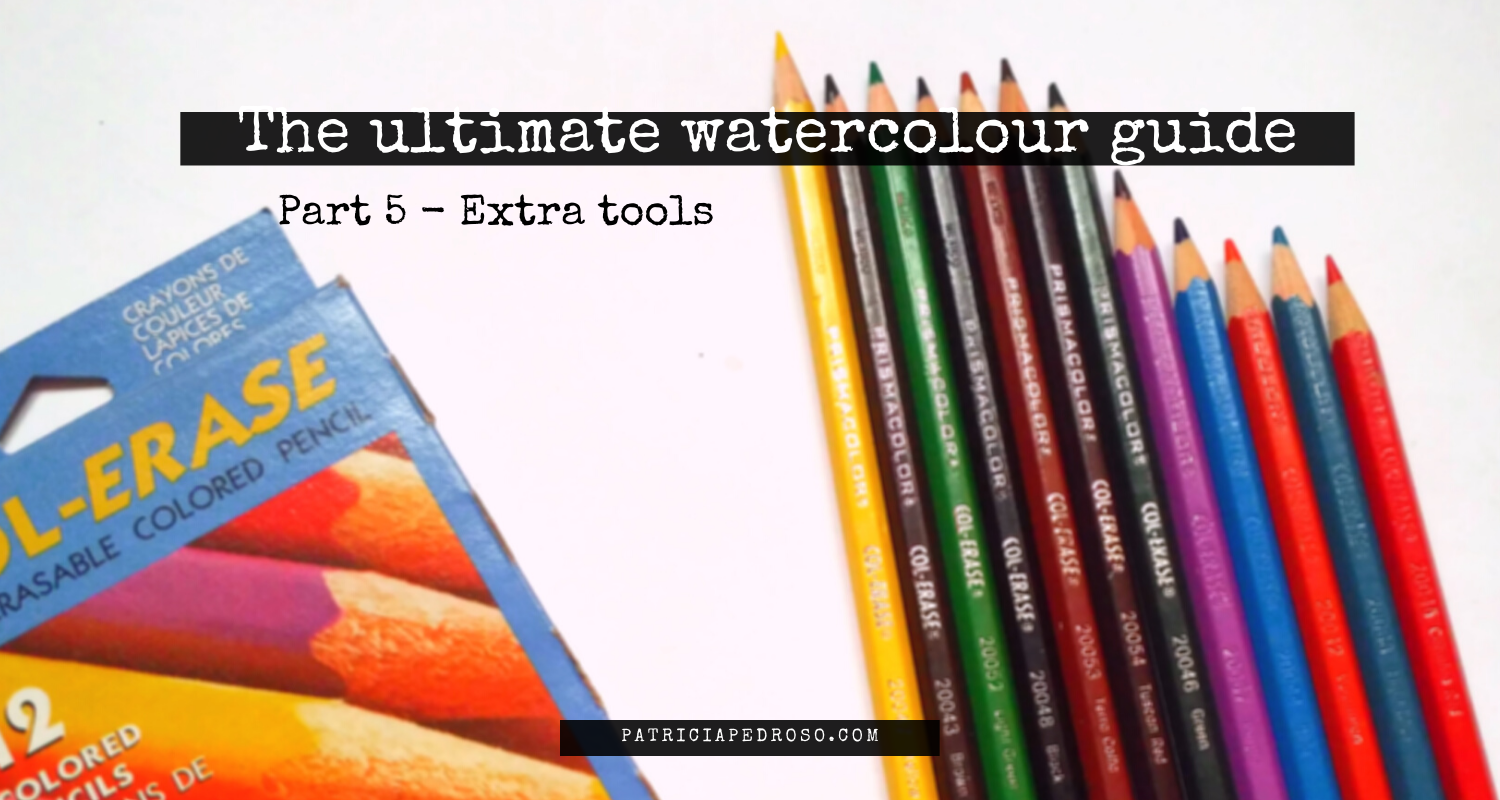
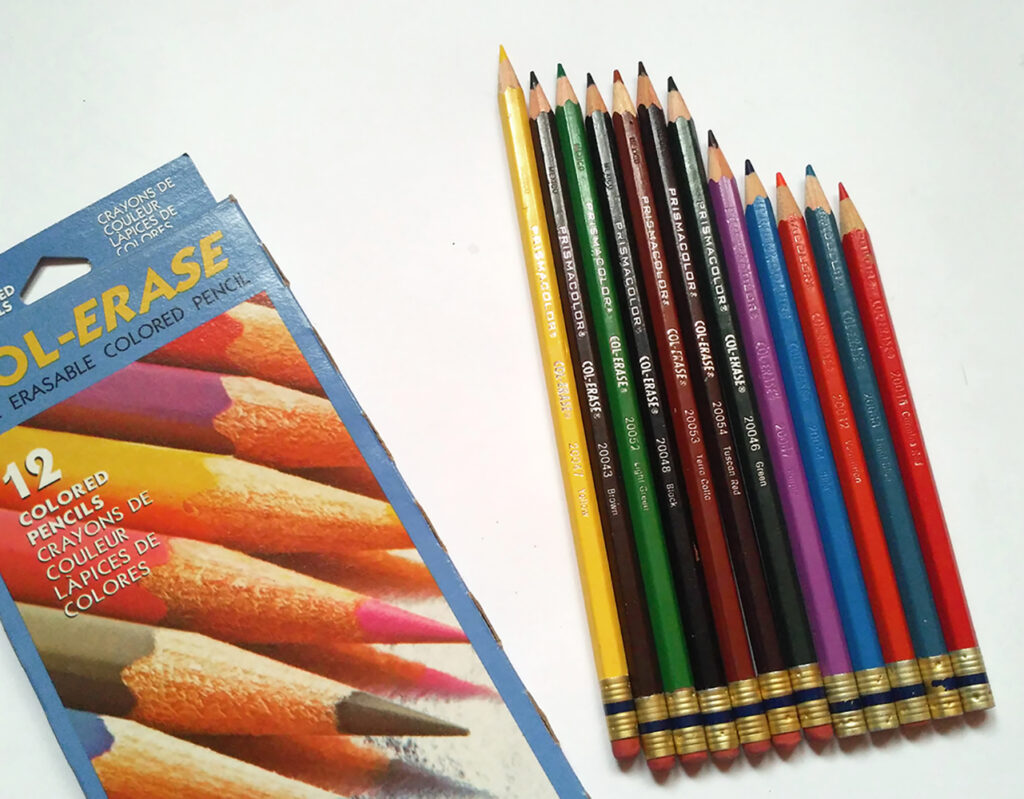
COL ERASE
Instead of talking about common charcoal pencils, I want to introduce you to my favourite of these extra tools selection: Col-erase pencils!
When you work with watercolour over any pencil, charcoal especially, it stays fixed in the paper.
You can’t erase it, just cover it.
But this is a problem if you’re working in a light area.
Imagine… A grey pencil line right in the middle.
It gets really frustrating!
There’s artists that like it though, but I’ll never understood them...
Some artists will erase the pencil to leave light marks.
Wrong!
The eraser leaves mark on the paper that sometimes later will react weirdly with watercolours. If you’ve done it you’ve probably experienced it.
It’s recommended that you sketch very lightly, or better yet, sketch with a coloured pencil.
Oranges & reds get covered really well, and you practically don’t see them after painting.
What I found even better than that are col-erase pencils!
Coloured pencils, but erasable!
(there’re also erasable mechanical pencil nibs that work similarly)
Honestly, I love them for sketching too, I’m a big fan of them. But for watercolours, they’ve been really practical. Sometimes, colours like the carmine red or the vermilion even look nice as line art.
I got myself a 12 pack cause I wanted to experiment with them, I can’t pick just one favourite like most artists, I have a few depending on the day; mostly the blues, purple, red & orange, though sometimes I use the black and tuscan red too.
You might notice in the pic cause they’re the most used up.
They’ve lasted me years so far, but I’ll be buying individuals next time, as there are some colours – yellow, green – I barely use.
They’re not ideal for colouring, as they have little intensity of colour.
COLOURED PENCILS, INKS, FINELINERS & OTHERS
This section is mainly to encourage you to try to experiment to mix watercolours with other media.
Some of the most common to work together with it are:
- Coloured pencils: to go over the painting and define some areas, intensify them or add details.
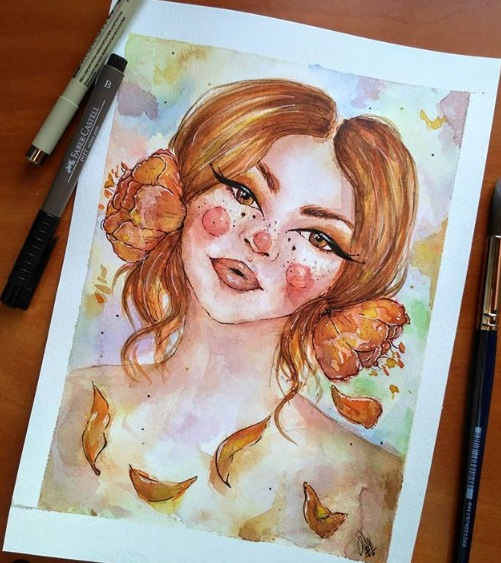
- Fineliners & brush pens: to add linework or details if you’re looking for a more illustrative style. This is something I do a lot because I love linework.
These are versatile cause there’s also coloured fineliners that will give your illustrations a cool touch. Faber Castell, Sakura micron & Staedtler are a few well-known brands I’ve worked with a lot and would definitively recommend.
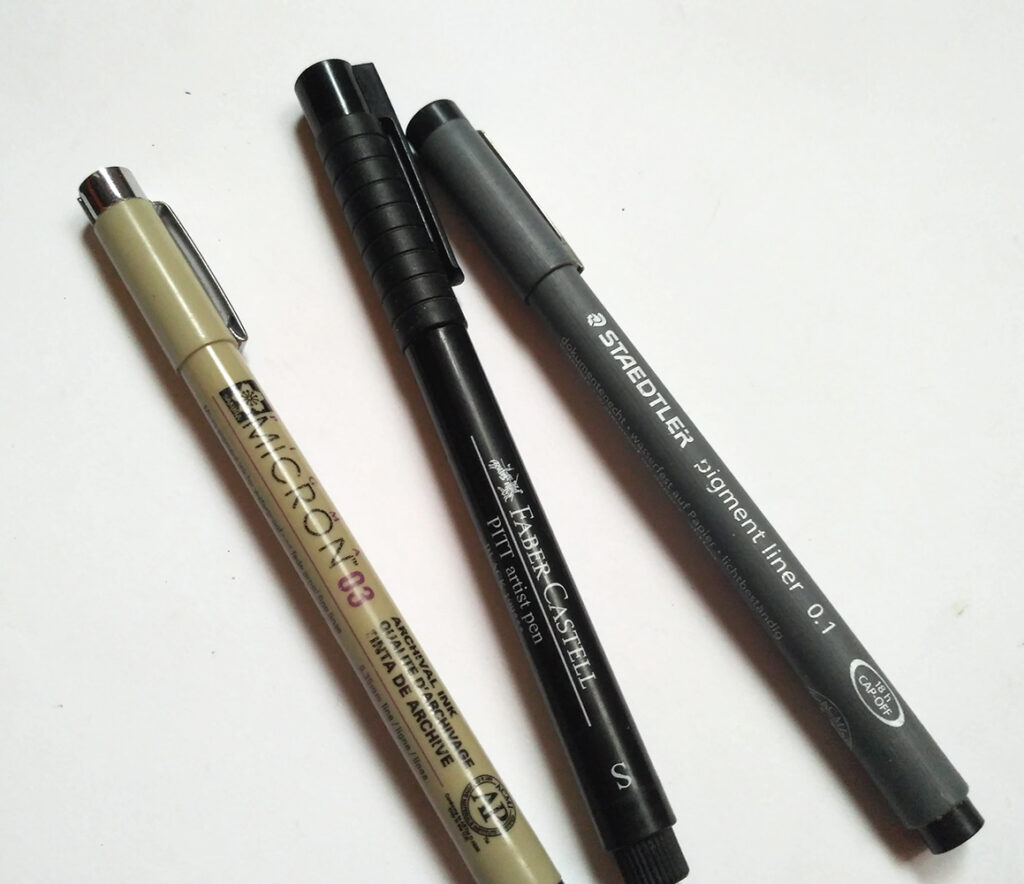
Make sure you check they’re waterproof if you want to avoid bleeding!
- Liquid ink; I’ve seen this combination too, mainly to work on linework or some older painters used it too to create texture with a hatching method before adding watercolours.
It doesn’t end here though, watercolours are a very versatile media and it allows for a lot of combinations with extra tools, so do experiment with it!
MEDIUMS AND ADDITIVES
Before starting this section, I must say it’s mostly research, I haven’t used any of them except varnish & masking fluid – that I detailed on the previous post. And the varnish wasn’t for watercolour but for oils.
I should start saying though, that the only additive you’ll really need when working with watercolours is clean water.
These are just extra tools to experiment with.
However, there are a few mediums and additives in the market that can be mixed with the paint to produce specific effects or make the paint application easier.
Just like in oils or acrylics.
One of the most popular is gum arabic, that you can add to your paint as you work to vivify the texture of the paint and the colours. If you use in excess tough it will make your paint slippery and jelly-like.
Gum water is an alternative to this one, thinner, that improves the flow of the paint and brightens the colours.
Glicerine will prolong the drying time of the paint, while adding a 96% solution of alcohol to the paint will speed up the drying time.
Varnish, applied over the finished dried painting, will help protect the painting and make it last longer, also making the colours pop a bit more.
From what I heard and my experience with oils, I want to warn you to be careful if you want to try this and make sure you buy one that works with watercolours.
Also, if you don’t want to ruin the traditional look and feel of watercolours try to go for a matte varnish.
Still, try it out in a painting or a sketch you don’t care much about, lots of people have trouble with ruining paintings with varnish.
LAST FEW WORDS
That’s all about extra tools to use with watercolours I could think of!
Now, there’s only a few posts left for this series.
I’ve covered most of the basics, so now I’m moving to some more specific things I don’t see people talk much in blog posts. Including this post, actually.
Now, what to expect for the next?
A list of exercises to get better & practice watercolours!
And I have a few more ideas after that but I’m still not sure…
So if you have any specific doubt, let me know!
