
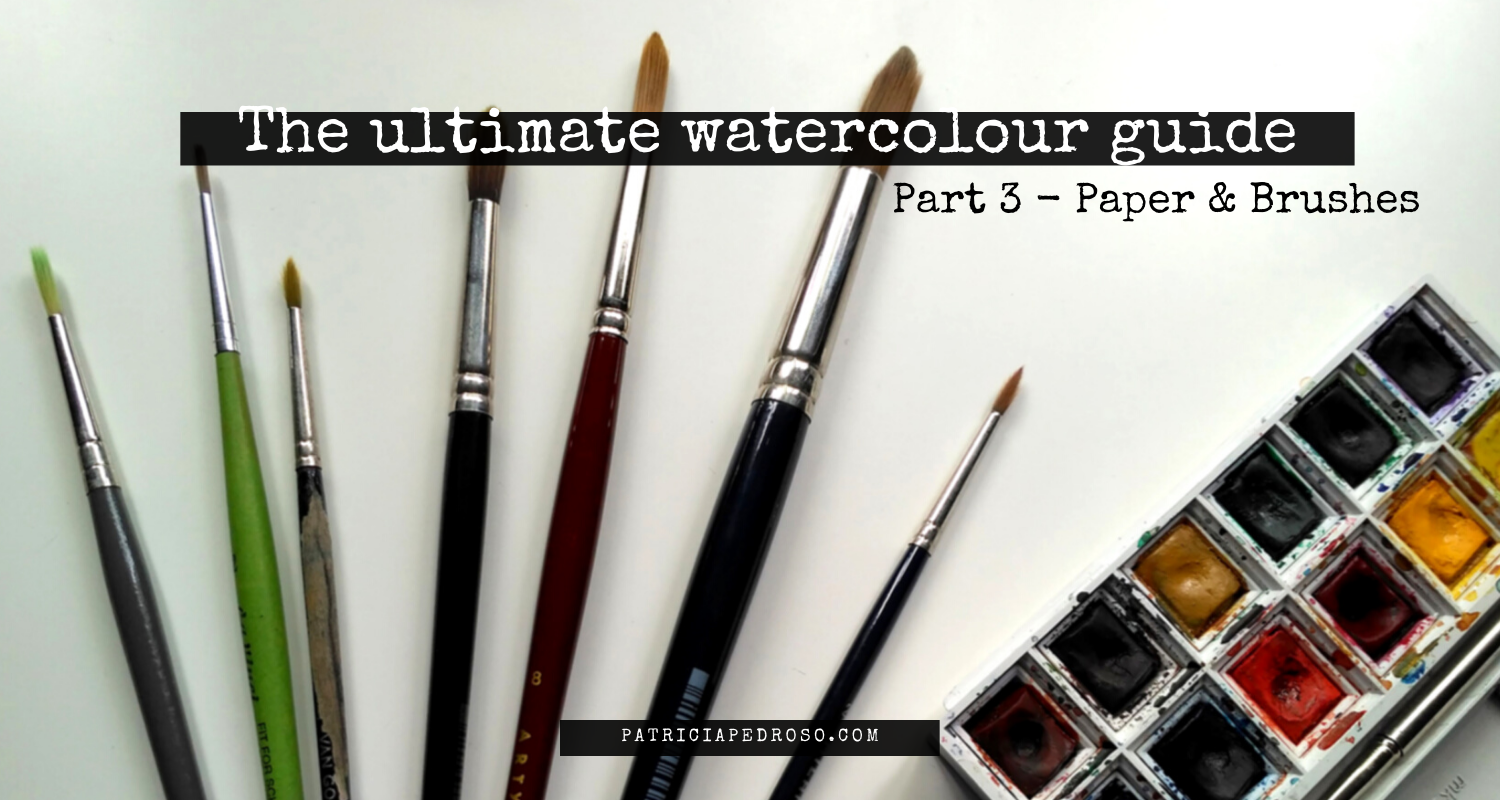
The ultimate watercolour guide III: Brushes & Paper
This time on the watercolour series, I will tackle two essential parts of the watercolouring process.
That’s watercolour brushes & paper, of course!
In this post, I will tell you the types you can find, more info about them, some tips to help you choose & more!
Hopefully, this will help you get acquainted with watercolour brushes and paper and make your watercolour journey easier!
This post belongs to a bigger watercolour guide series, if you want to read more I will link the full series here: (will update it as I go for you to find them easily)
- The ultimate guide to watercolour: Introduction
- The ultimate guide to watercolour: Paints
- Watercolour Guide: Brushes & paper (this one)
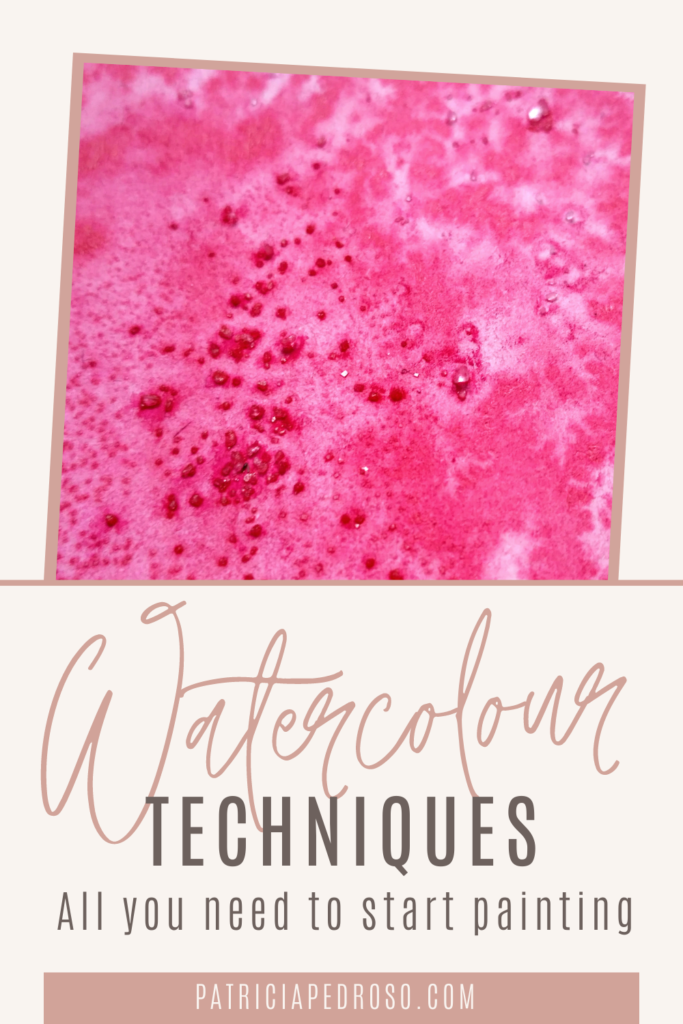
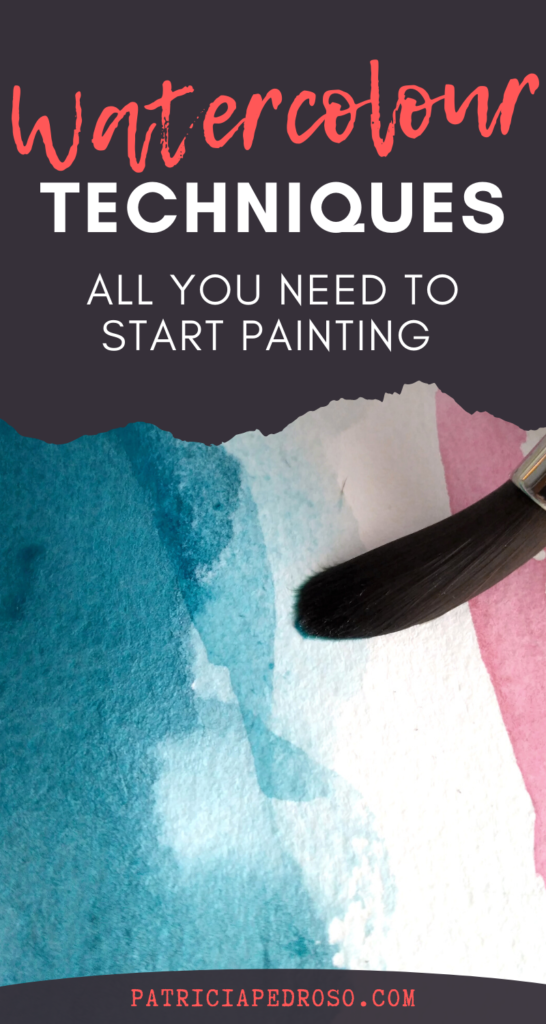
- Watercolour Techniques: All you need to know
- The watercolour Guide: Extra tools to ease your process.
- 7 Exercises to practice watercolours
*Reminder that this post contains some affiliate links. This means I might get a small commission when you click and buy something with that link with no additional cost to you. However, my reviews and recommended products are not influenced by this, I’ll only recommend what I use and what I believe is good. Click here to read the disclaimer if you want more information*
BRUSHES
Brushmaking is a very old art, in which England, France and Germany have the longest tradition making and, still today, provide some of the best brushes.
Just a quick starting tip for brushes.
When grabbing the brush, you have to consider what you intend to do:
If you grab it near the tip, you will have more control over it to create precise lines, while if you grab it near the top, you’ll make looser movements & brushstrokes.
And you never need to apply that much pressure to deposit the paint – well, unless you’re using a weird technique & avoid using your new brushes for that!
ABOUT THE BRUSH
A brush consists of three parts: the tuft, the ferrule and the handle.
- The tuft is a bundle of animal hairs or synthetic fibres tied tightly together at the base that will later hold and release the painting liquid.
What we see of the tuft it’s only about half it’s total length.
- The ferrule is a metal sleeve that surrounds the tuft, gives the tuft its cross-sectional shape, provides mechanical support under pressure and protects from water the glue joint between the trimmed, flat base of the tuft and the lacquered wood handle – also protecting this last one from the water.
- The handle is usually shorter in a watercolour brush than in an oil painting brush, and also has a distinct shape – widest just behind the ferrule and tapering to the tip.
Most commonly made with wood, but there’s some made with plastic too.

The size of a brush comes determined by numbers from #00000 or #000 to #24 or sometimes more.
From #000, #00, #0, #1 to #12 it typically will run in single number intervals, from then on, in even number intervals.
The sizes of them change slightly with different brands, but it’s good to have as a reference.
TYPES OF BRUSHES
There’s a wide variety of shapes and types of watercolour brushes for different effects.
But don’t let this overwhelm you.
The most widely used are round and flat brushes.
Every artist has its preferences, but most will agree that with one good round brush you can do mostly everything.
If you don’t feel confident enough for that, a few round and flat brushes will do the trick for you.
But what are those you’ll ask?
BASIC BRUSHES
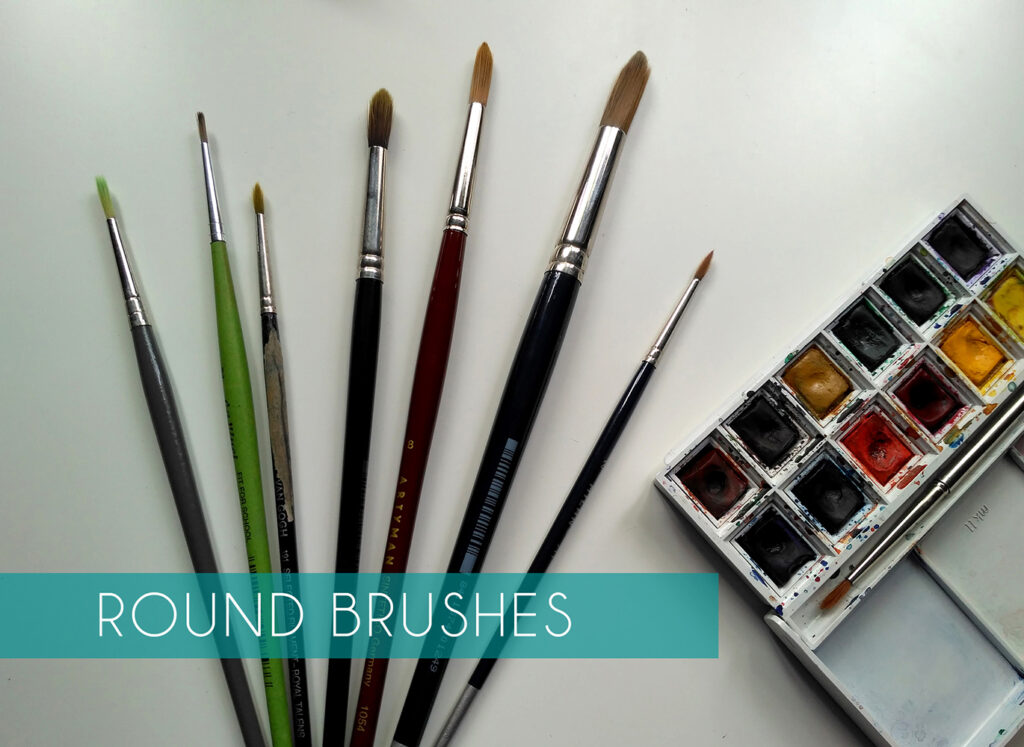
- Round Brushes: a classic watercolour brush with hairs that shape to a rounded point.
A good round brush will render a wide range of effect and shapes, will hold a lot of water, pick up excess paint and it will rinse out quickly.
The middle – or considered optimal – size for this brush is around a #10 or #12, but this can vary depending on the brand. The smaller would be #00 or #000 and these are for extremely fine detail or lineart, and not very practical for other uses.
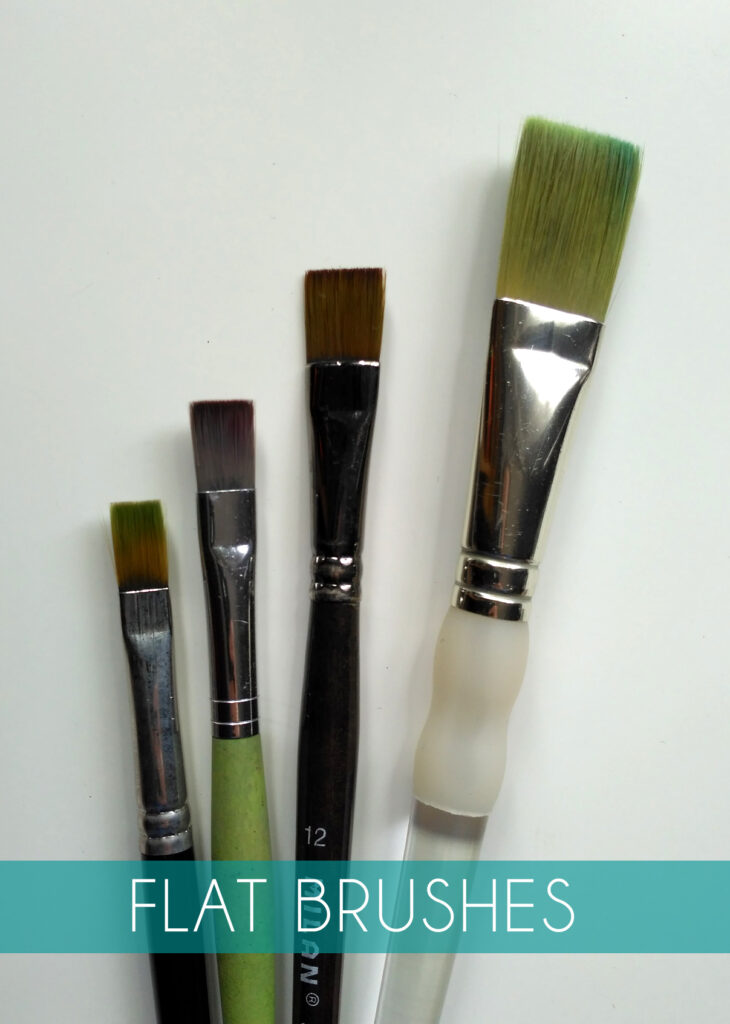
- Flat brushes: these are chisel shaped brushes with a straight edge.
It became popular among Impressionist painters of the late 19th century.
These brushes will hold less water than the rounds and will produce sharp, more angular stroke edges.
OTHER BRUSHES
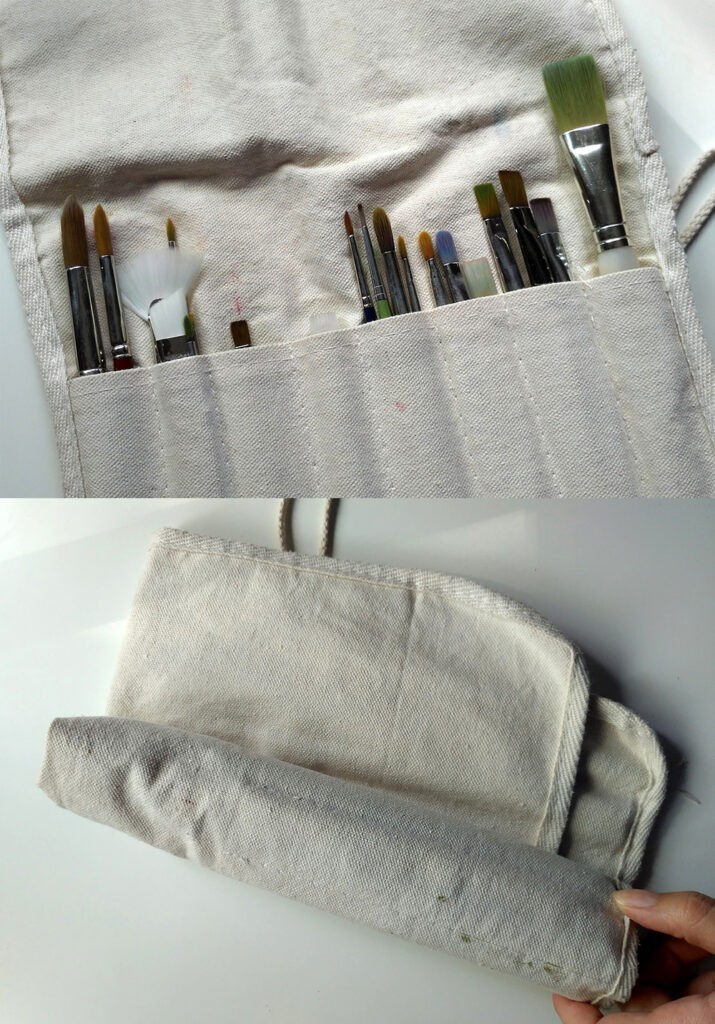
Other “special brushes”: these brushes are more rarely used, you can definitely create paintings without them, but there are certain techniques for creating textures that make them more effective than the usual brush.
Some of them you can see on these images from my colecction;
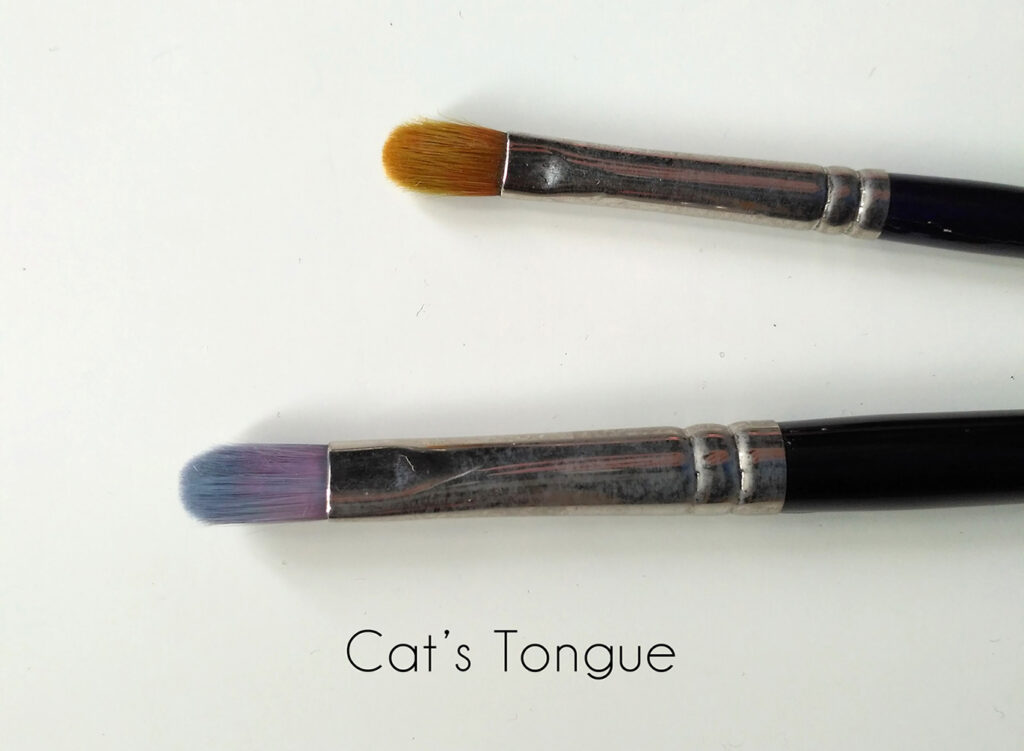
A cat’s tongue has a flat but oval point, it’s normally used for blending or creating shapes like petals.
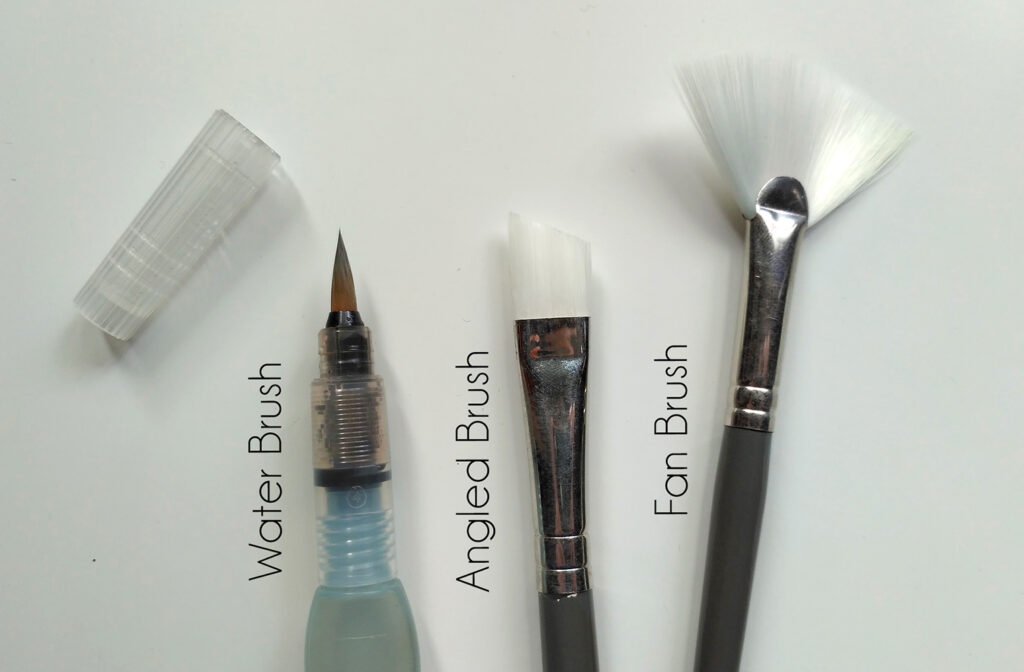
The fan brush, for creating texture (grass, hatching, parallel lines…) & an angled flat brush, for painting edges.
I must say, I bought these in a pack but I rarely – or never – use them, I find myself comfortable working with simpler brushes.
Water brush: The water brush requires a special mention cause it’s a newer brush that has a little water container on it. I talk about it more in a comparison that you can find further down.
NATURAL vs. SYNTHETIC
Brushes can be made with natural hairs or synthetic.
Though I haven’t tried any natural brushes, watercolourists will swear by them.
They’re more expensive, but durable.
A watercolourist teacher of mine once swore he could make an entire full painting with a brush like the petit gris brush – usually made from squirrel hair – with all the details and big washes too!
I was surprised at first, but I’ve heard it a lot ever since from other watercolour artists, as this is a round brush that carries a lot of water and it maintains a thin tip for details, it’s just very versatile.
Technically, this one I’m talking about it’s called a mop brush, but it’s very similar to the round but with the most precise point.

Natural hair brushes will be more durable and will stay sharp and in better condition for longer.
While synthetic brushes will get ruined a certain amount of time – depending on how you treat them and their quality too.
So, is it worth it?
Maybe not right when you’re starting but it’s good you know about them.
I definitely plan to try one of these in the future! – when the budget allows it.
HOW TO CHOOSE YOUR BRUSHES
As I’ve been saying with all art supplies, both in watercolour brushes or paper it’s again all about preference.
The types of brush you use will depend on your techniques and style of painting.
Sometimes it doesn’t even come down to cheap or expensive, cause you might have a few techniques that work with cheap brushes better – or saves you a lot of money because it’s a highly brush-abrasive technique.
For me, a lot of brushes have been good even when they weren’t the most expensive ones.
Though I have tried a few bad ones too.
I think the best rule of thumb you can follow is to buy a few rounds & flats with different sizes and try them up.
It’s always good to have a big round one and a medium one – for me that’s been #12 – #14 and then a #8 – #10, depending on your sizing – cause with that you can make a whole painting.
A small one can be good for detailing but if these previous ones have a good point you might not even use it that much.
Avoid buying them in bulk as you’ll probably end with a ton you won’t use, it’s best to buy sparingly and give yourself time to try them.
And they’re expensive too…
If you go to a real store, talking to the salesperson has helped me a couple of times, especially if they have painted themselves.
If not, you can always ask which ones are the most popular/sold and get a sense of the best ones with that, always applying your preferences & your common sense too.
Here’s a video recommendation of cheap brushes for beginners:
WATER BRUSH vs COMMON BRUSHES?
With common brushes, its bristles absorb and hold water, its slimmer design allows for better control and you can control better the amount of water that’s in the brush.
It’s also better suited for lifting techniques – to lift up the paint, will talk about that on the technique post.
However, it’s less suited for travel, as it requires you to have a jar of water and other additional tools, also it’s larger than the water brush.
As for the water brush, it’s a really practical tool, especially for plein air painting – in a small sketchbook – or to carry around for travelling.
It’s compact and you don’t need an extra water container, the cap keeps the bristles protected and it’s more straightforward to use without the water jar.
But the bristles are plastic, so they get damaged faster. And depending on the design & quality of the brush can be uncomfortable to use.
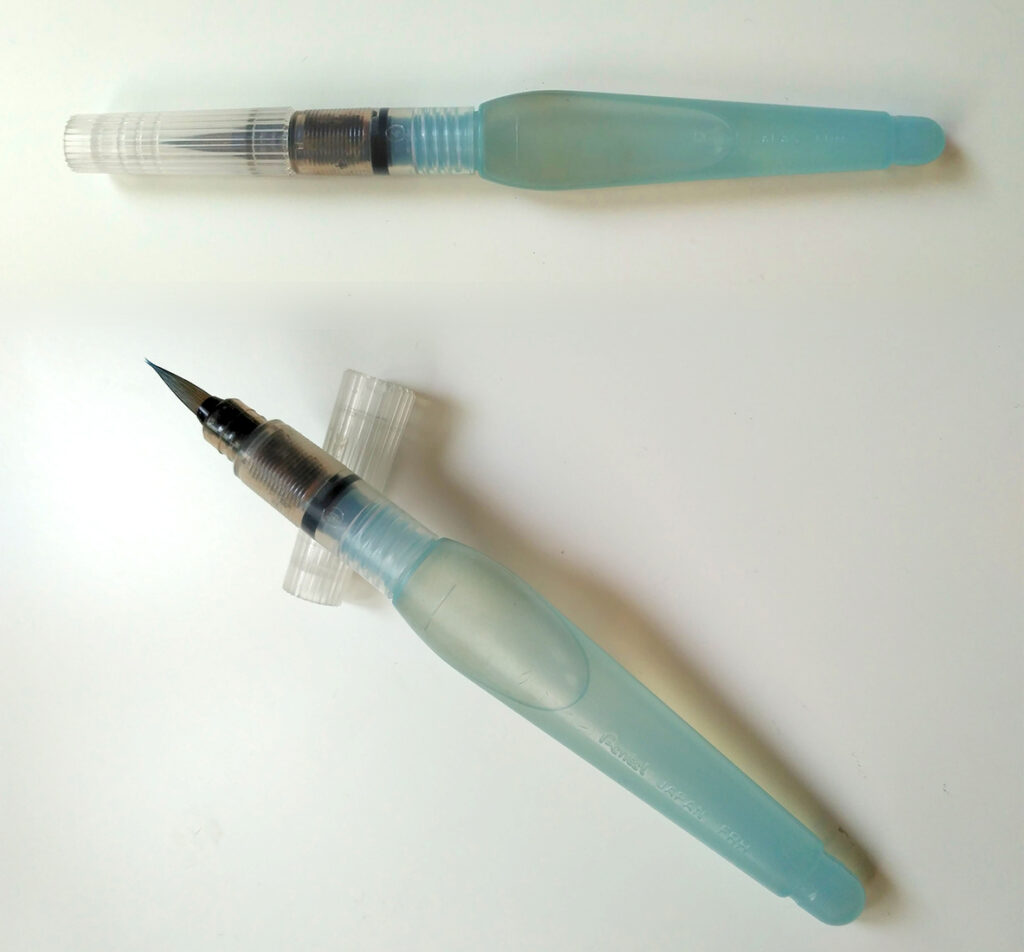
In my case I’ve mainly used the Pentel brush you can see in the image, it’s more expensive but it has lasted me years and I’ve never had any trouble.
I tried a cheaper version once and I had so much trouble with them…
Also, the control of the paint it’s different than with a standard brush, so you will have to get used to that.
In my case, I realised that this brush tends to work really well for lineart (as it’s very pointy and precise) & small details.
More so than for working on large areas, as they tend to be small.
They’re often used for calligraphy for this reason.
It’s ultimately up to you, but in my opinion, they’re intended for different things, so they should be treated as such.
HOW TO CARE & CLEAN WATERCOLOUR BRUSHES
If you take good care of your brushes even cheap ones can last a long time.
Here’s a bit of advice for this, from me and from what I heard from other artists:
DON’Ts
- Don’t leave it in water for a long time, or avoid leaving it at all as I do.
- Do not use your watercolour brushes for oils or acrylics – gouache is fine.
- Never use them with masking fluid, varnish and such, always try to have old/cheap brushes for that – seriously, immediately ruins a brush, never to be used again.
- Don’t reshape your brushes with scissors or razor blades.
- Do not leave it pointing down in the water.
- Avoid leaving it wet for extended periods.
- Don’t press too hard the brush on the paper so the hairs are bent back.
DO
Here are the most common recommendations for your brushes to last longer:
- Never leave a brush standing on their heads, not even a few minutes.
- Do not submerge the brush beyond the top of the ferrule – avoid it touching the wood part.
- Wet a brush properly before start painting – avoid picking pigment with dry brushes.
- Rinse the brushes thoroughly in water as you work.
- Avoid holding a brush charged with paint with the tip pointing upwards, basically, avoid the paint to reach the ferrule.
- Wash and shape the brush hairs when you finish painting, shaping them with your fingers will help them maintain their tips.
- Lay them flat as they dry, preferably in an open space instead of a closed container.
These rules apply even more to synthetic brushes.
If you want further explanation of these, this post explains it really well.
To store brushes, it’s a good idea to use these cases that are made with fabric and can be easily stored, hanged and carried around.
Plus they don’t damage the brushes!
Here’s the closest to this one I could find on Amazon, but I’m sure there’s more on other stores.
ABOUT CLEANING
I’ve found watercolour brushes to be quite easy to maintain if you’re a bit careful.
You don’t even need to always wash them with soap when you finish painting, as long as you rinse them properly in clean water to take out all of the paint residues.
But do wash them with soap if they’re going to sit there unused for a while.
To wash a brush, start by rinsing them in warm running water (not too hot!), with the tuft pointing down.
Once you’ve rinsed out most of the pigment (the water comes out clean) then you can hold it horizontally with the water coming directly on the ferrule.
Normal soap is fine for most synthetic brushes, as long as it’s not a harsh cleaner – most special ‘brush cleaner soaps’ are, so avoid those.
Use the soaps sparingly for natural haired brushes, something like baby shampoo or glycerine soap, and only with very staining pigments.
For the soap application, you either stroke the brush against it for solid soap or place a drop of it on the tuft, then rub it against your wet palm, then rinse as you’ve done before.
Repeat if you see there’s still paint.
Once washed, shake the brushes to remove the excess, do not wipe on a towel!
Use your finger to gently give it it’s shape and then leave drying flat.
PAPER
After brushes, watercolour paper is also really important!
In watercolours, paper is also the source of light of a painting.
Paper is a very essential tool for watercolours, if you come from working with pencil this will probably be very confusing at first, cause most paper works okay with them.
But it’s not the same here, a paper that’s not suited for watercolours can be really uncomfortable to work with, ruining your experience with watercolours.
And your painting too.
When you use paper that’s not well suited for watercolour it bends and warps.
Well, this can happen too in a watercolour paper because of water excess, but it’s minor and much more controllable.
That’s why we usually work with the paper taped on a surface with masking/washi tape.
When working with watercolour, the type of paper and it’s thickness it’s something you need to pay attention to.
And not every thick paper is suited for them either.
You should specifically look for watercolour/wet media paper, and pay special attention to the thickness.
For watercolour, the ideal would be between 140lb and 300lb, or for those on the metric system, more than 300gsm – a bit less, like 280gsm is fine too, though a bit thin.
Of course, you can use other papers too, I know I’ve done it, but it’s definitely more uncomfortable to work with – or sometimes even impossible to achieve anything.
TYPES OF PAPER
There’re two main types of watercolour paint, Hot Press & Cold Press and the main difference between them is its texture, because of how its made.
Hot Pressed has a very smooth flat finish.
It’s better suited for illustrations with lots of details, or when you add other techniques once you’re done, like lineart – gentler with them, the cold press will ruin your fineliners/brush pens a lot!
It doesn’t absorb the water as quickly, but this also leaves you more time to make adjustments; like lifting paint, make corrections.
Some people find it more difficult to work with, cause it’s more “slippery”.
Cold Pressed is the classical watercolour paper; textured.
It absorbs the water faster and it’s usually more suitable for a “fine art” painterly approach with faster & bigger brush strokes.
There’s more, but these are the basic two big groups.
Rough paper is also very well known with a lot of texture and good for washes.
It all comes down to personal preference & what’s most comfortable with the way you paint and the types of illustrations you make.
When starting, the best thing you can do it’s trying different ones till you find the ones you’re more comfortable with.
ABOUT THE QUALITY
As always with art supplies, there’s high quality and low-quality paper.
What’s better?
Well, unlike with some media that I feel this is less relevant, I can honestly say that with watercolours the change it’s pretty noticeable.
Most watercolourists will agree.
Professionals in watercolour will avoid using paper that’s not 100% cotton when it comes to watercolour.
A paper that’s 100% cotton it’s the best one for watercolour, cause other paper will behave differently and may condition the way you learn.
It also allows for the most homogeneous washes of colour!
A high-quality paper will have a perfect weight and the fibres of the paper will hold much better against water/brush usage.
Combined with good paints, it will also make them look better and more vibrant.
Oh, and try to check out it’s acid-free! – if it has acids it will get yellow with time.
Of course, if you’re just starting I would recommend reserving the expensive paper for later & maybe buy something in the intermediate side for practice.
One that I have worked with and most artists recommend – for practice/starting out – it’s the Canson XL Watercolour pad, it’s not a high-quality watercolour paper, but as a ‘low/student quality’ paper it really exceeds expectations.
The pad is very big, with a lot of sheets and budget-friendly, overall just really good for practice.
A high-quality well-known example will be Arches watercolour paper, I have not tried it yet, but most professionals swear by it.
EXTRA THINGS ABOUT PAPER
Paper can be made with one of these three processes: handmade, mold-made or machine-made.
The first two are the best, more durable and with irregular texture and, of course, usually, the high-quality paper will be made with one of these two processes.
Low-quality paper is typically machine-made, a much cheaper process.
Most papers will come in white or cream, but there’s also a selection of tinted papers to create different effects.
Sometimes you might also want to tint it yourself with a thin wash for different reasons.
You can buy watercolour paper in blocks, individual sheets, rolls, panels, sketchbooks & pads.
Blocks and pads are good to practice or to paint outside, but it’s all about personal preference again.
A good thing to consider is to avoid touching with your hands the watercolour paper – and brushes actually – too much, or erasing much before painting.
Not only cause it damages the paper but sometimes you’ll also notice how watercolour sometimes behaves weird on areas you’ve erased or had your – sometimes dirty – fingers on for long.
Wash your hands artists!
That’s all!
For this post, at least.
I hope you’ve learned enough about watercolour brushes & paper for you to find your way trough them!
Next up: techniques!
If you don’t want to miss the next posts, make sure you subscribe to my mailing list to be notified when it goes out.
And it comes with other perks too!
Yes, I’m talking freebies
Do you have any more doubts about watercolour brushes or paper?
Let me know bellow!
If this info was useful, feel free to share it around to help other people with watercolour brushes and paper too!
